
New Guitar Kit – Solo LPK-10
My Very first guitar was a really cheap Les Paul copy made out of plywood. I loved the Les Paul and always wanted a real one but just didn’t get around to spending the money until 2017 when I decided to go for something really nice and got a High Performance version with a Bourbon Burst finish. Six weeks later when it finally arrived I couldn’t stop playing it!! It felt absolutely fantastic!
After that I wanted to get a standard version just to see if there was a big difference but it’s hard to spend all that money again on a similar guitar. So after building a bunch of Solo kits that became my favorite guitars (especially the SGK-10s and an STK-15) I decided it was time to try an LPK-10 and see if that would satisfy my curiosity.
On the previous build (the STK-15) I switched from paint to dye and loved the results so I was hoping that this one, with an interesting grain pattern on the body, would look really good. Of course, that would depend on my abilities, or (probably) lack there of! Also, I had only built the kits with bolt-on necks and it was scary to even think about gluing a neck on, but it was time to try!
I have to point out that I really have no idea what I’m doing! I’ve been working on my own guitars for about 45 years but I haven’t had any formal training and probably do things a bit differently than most (or all!) professionals. But right or wrong the SGK-10s are now my absolute favorite guitars even over all the expensive name brands I’ve bought over the years. Once I’m finished setting them up they play fantastically!!
So in Late August 2026 I placed the order and it arrived vey quickly as always.
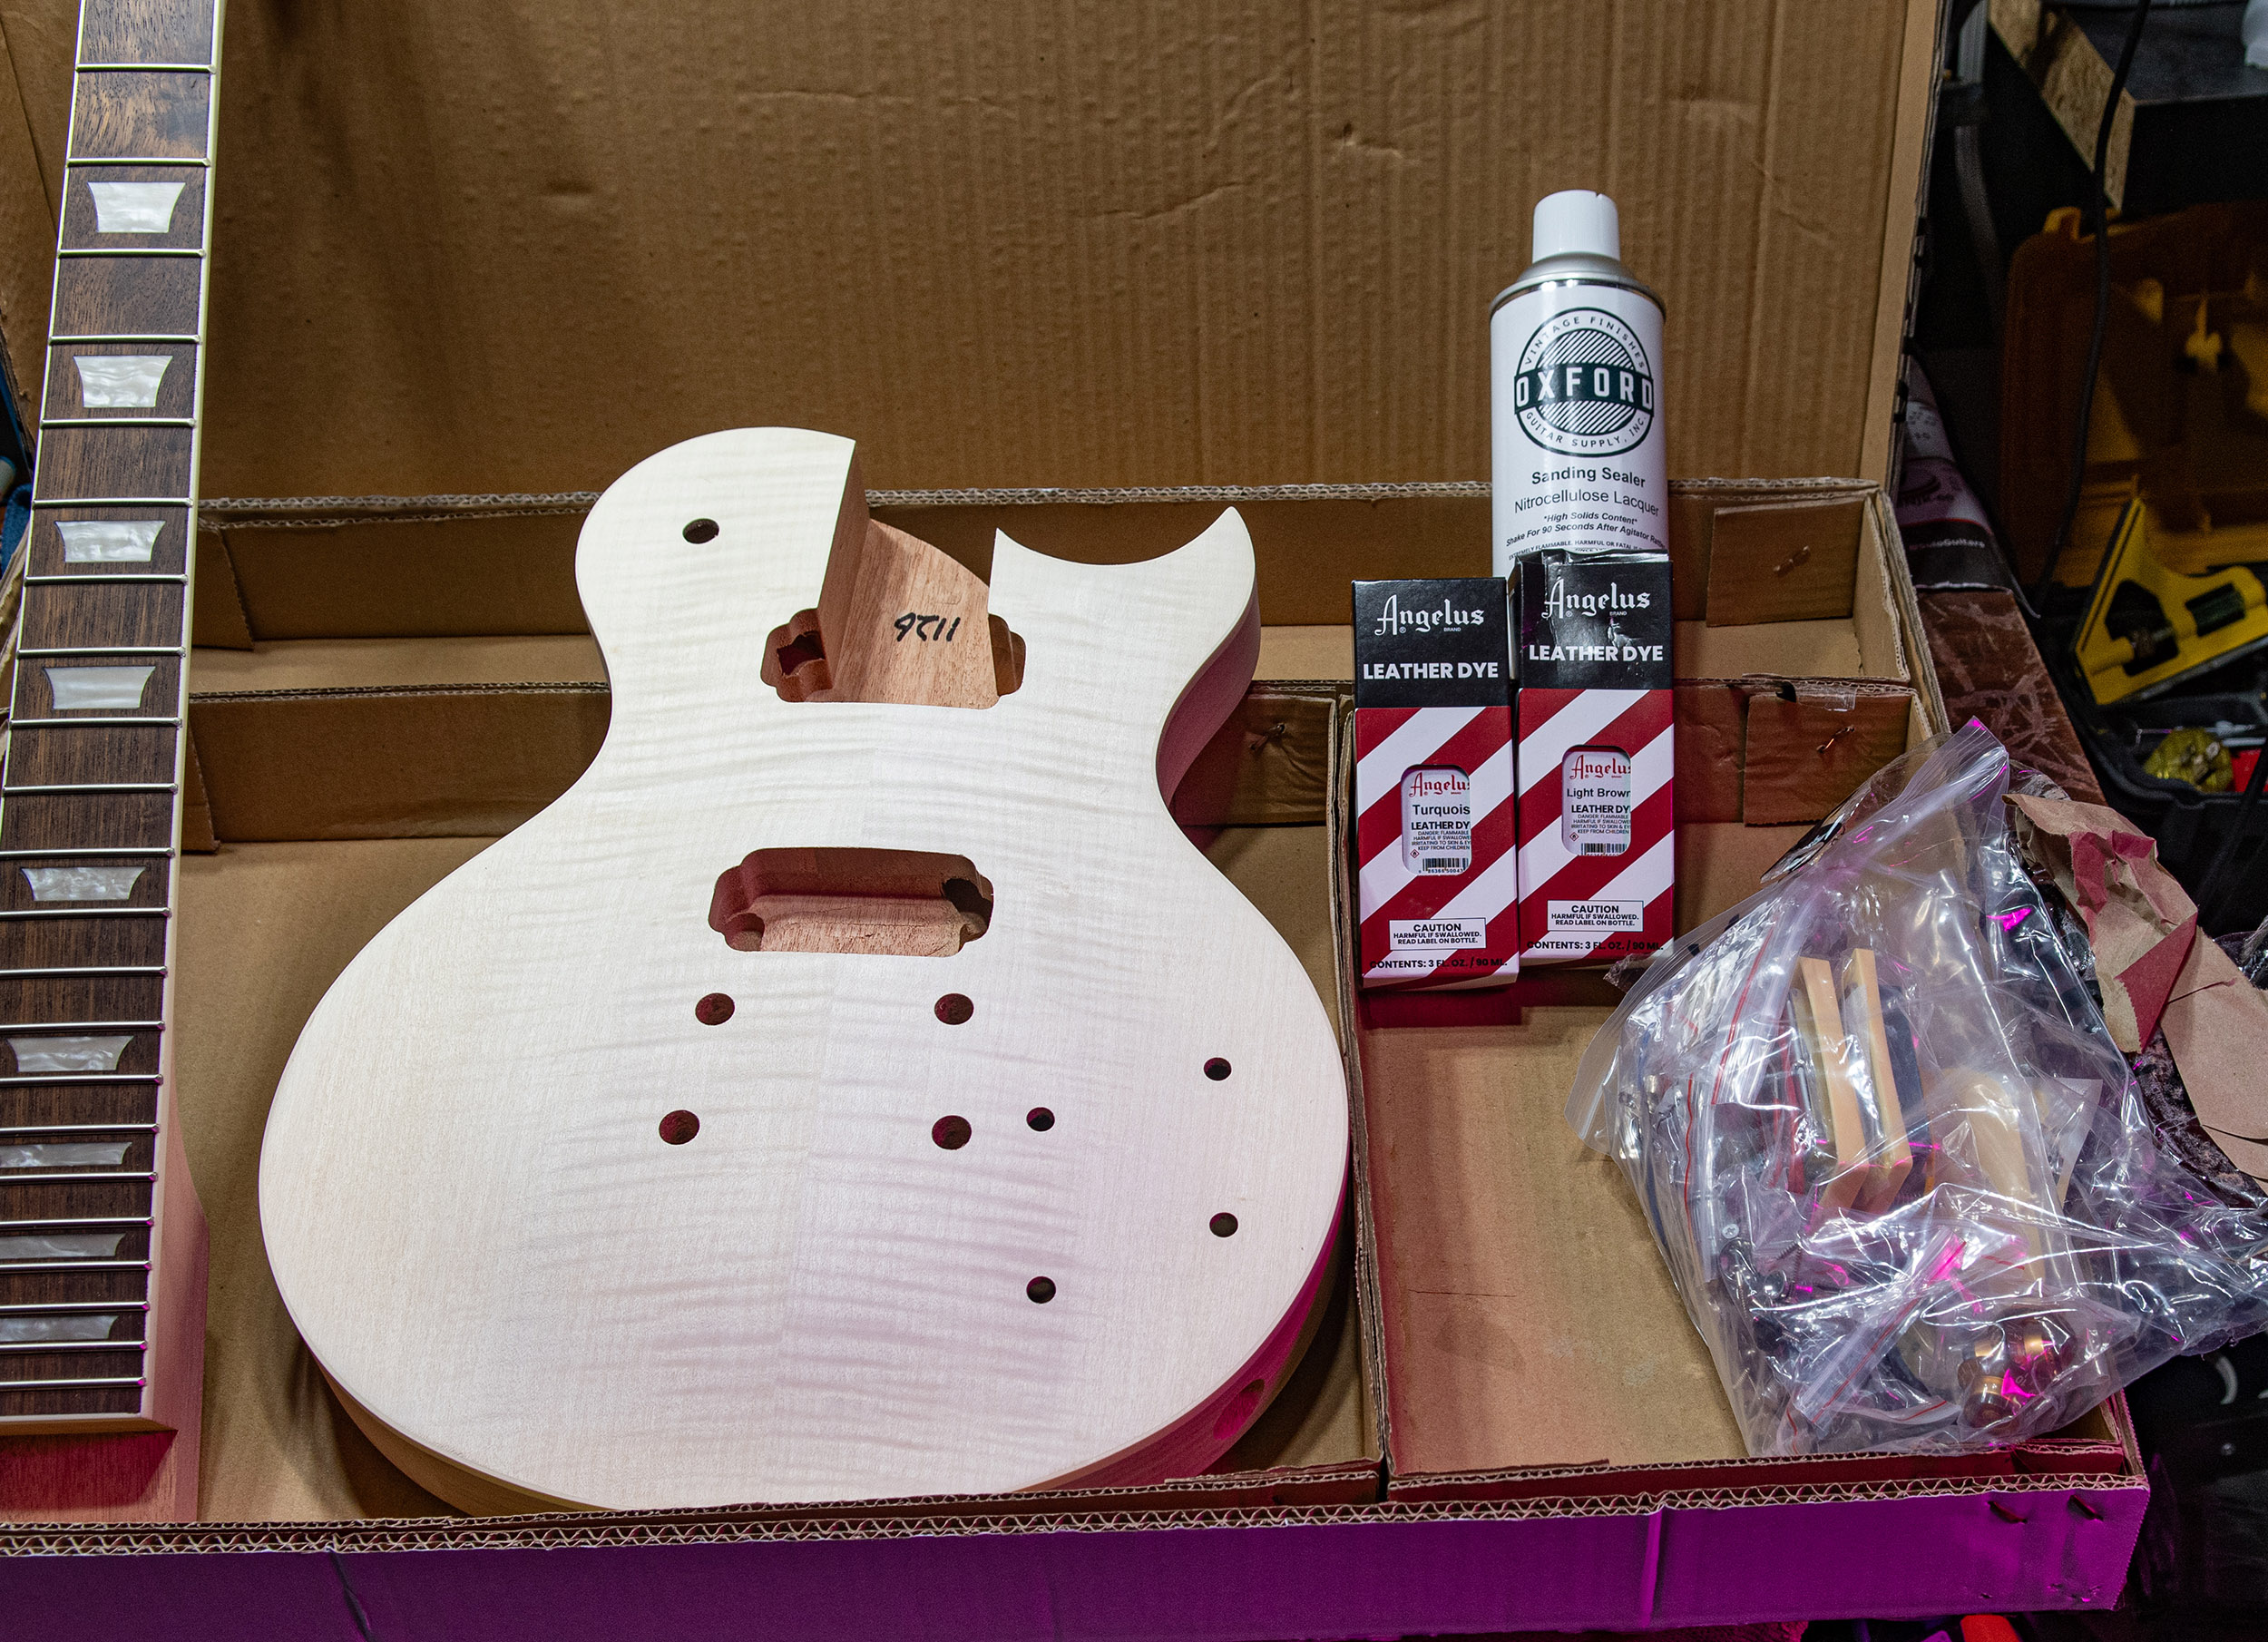
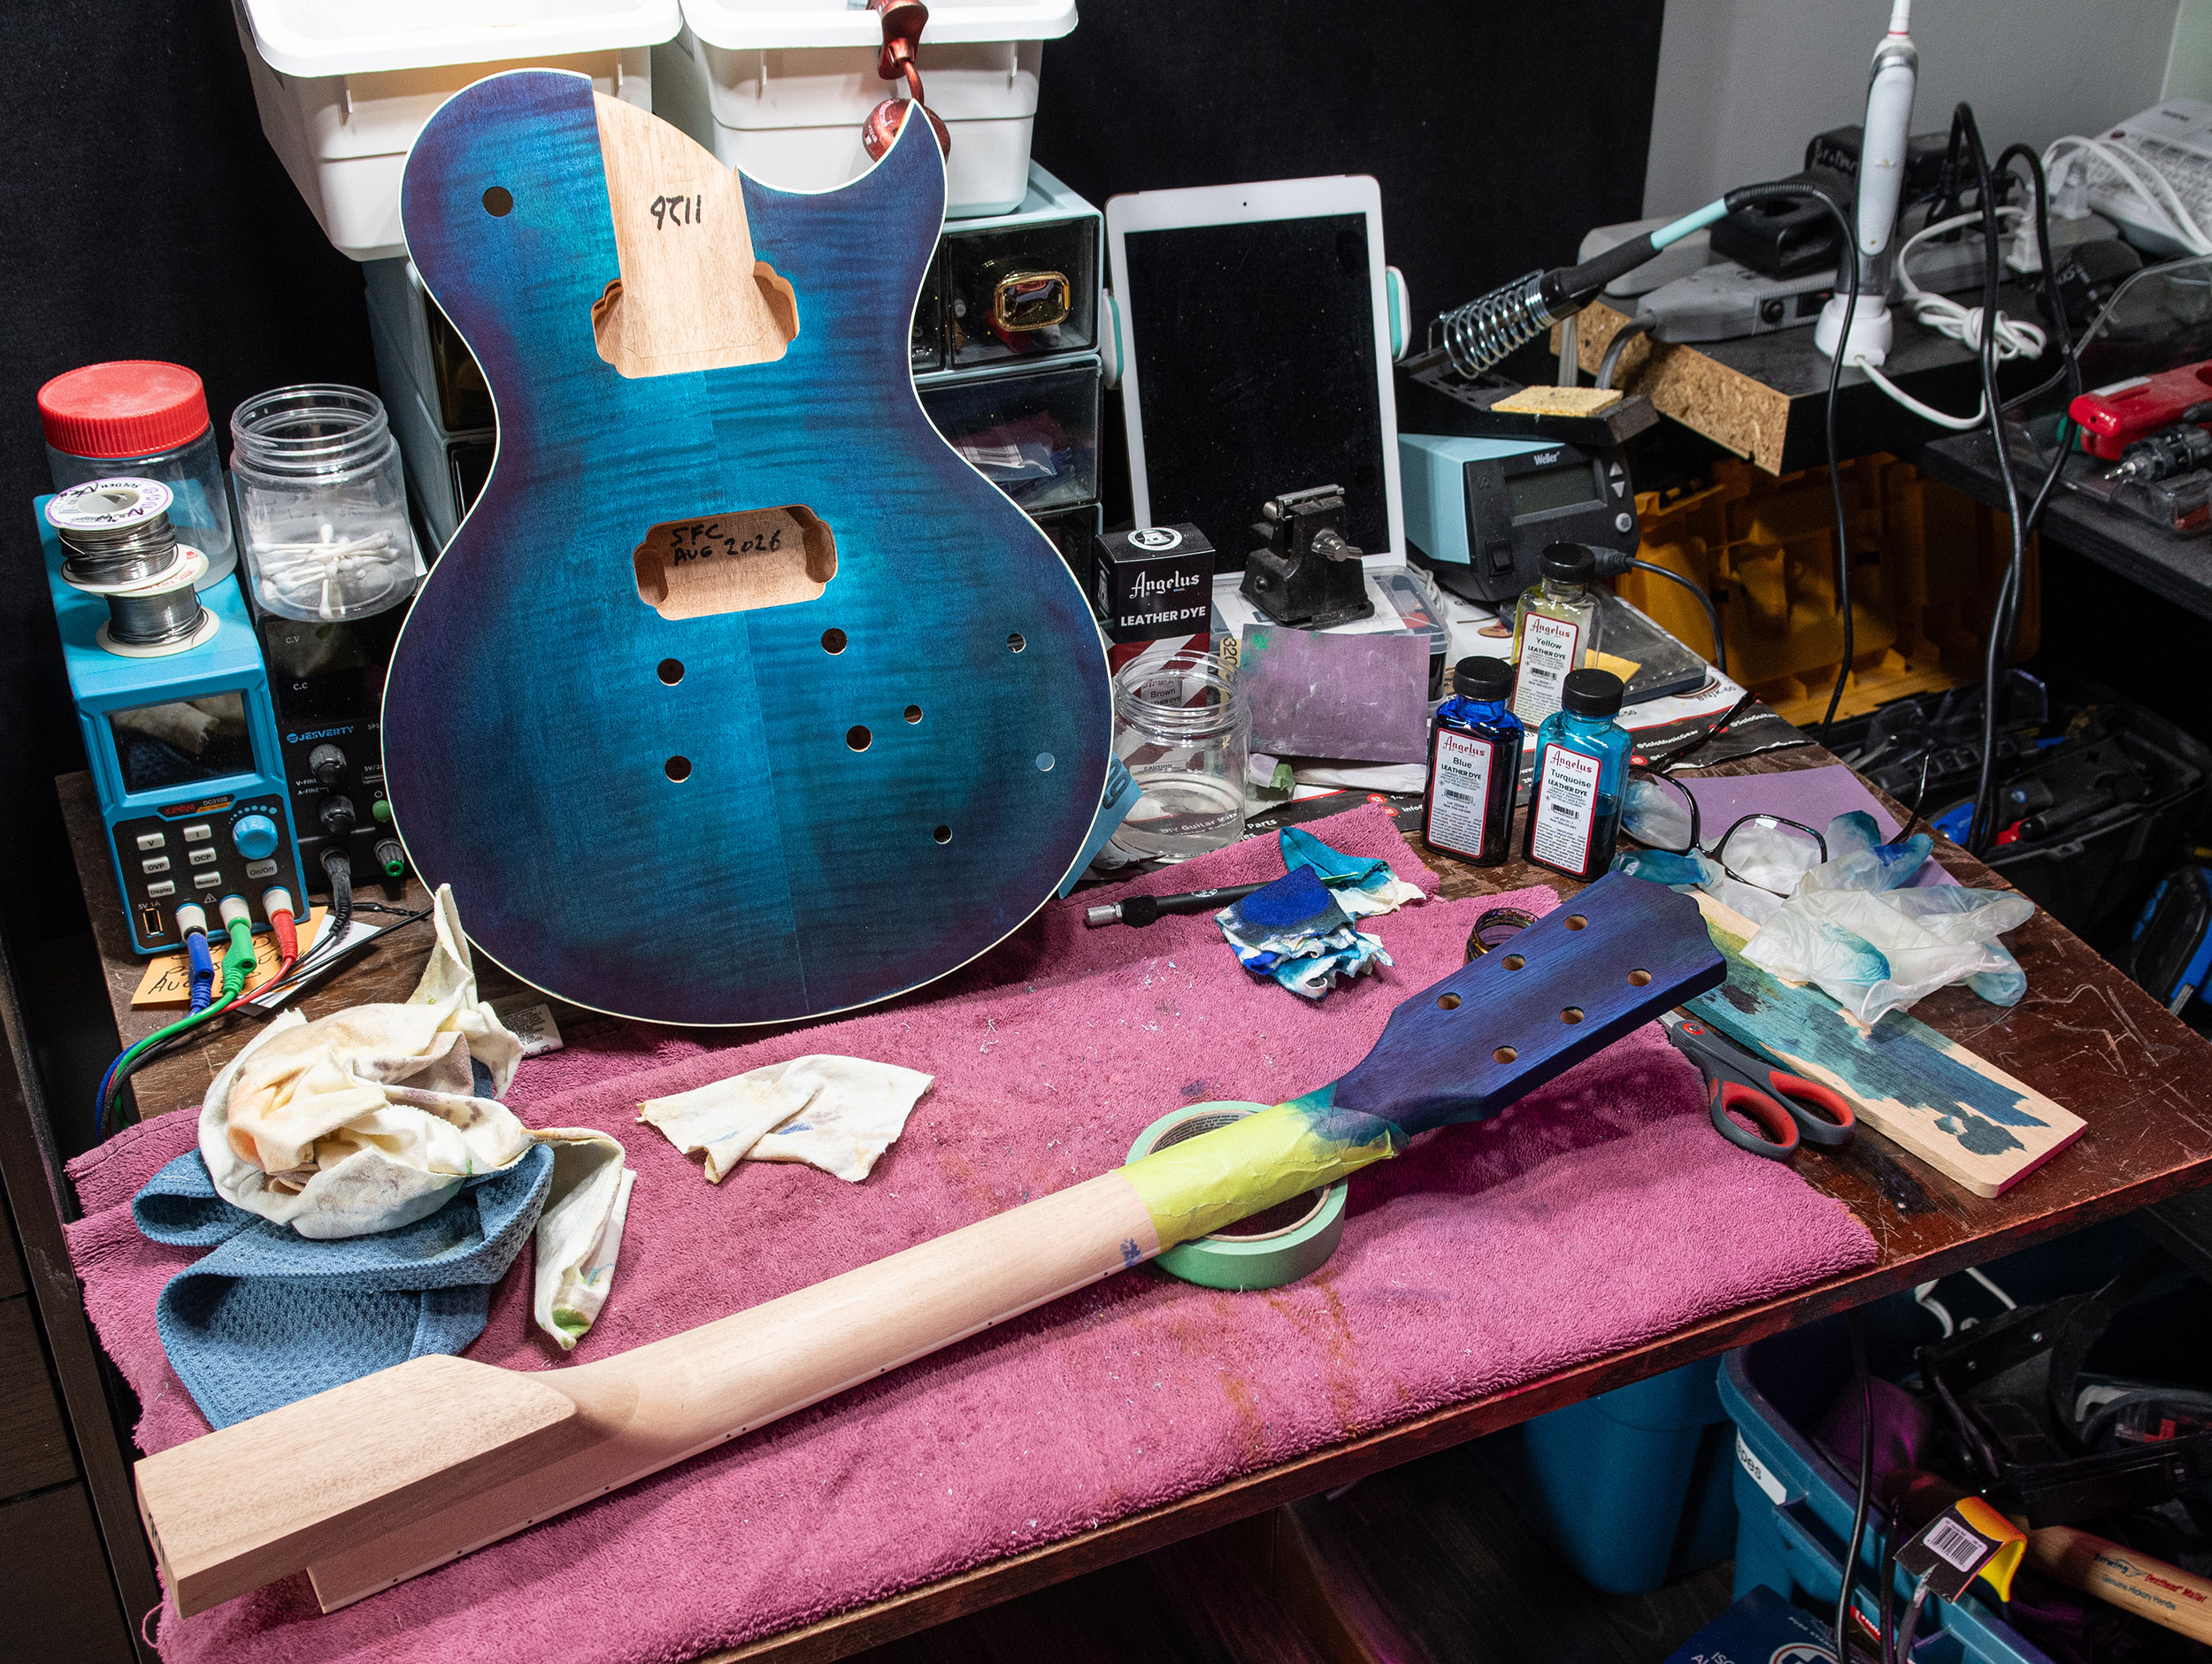
I read in a few places that people usually glue the neck first then do the finishing but that didn’t make sense to me so I jumped right in to staining the body. I ordered turquoise and light brown Angulus Leather dyes with the guitar to add to the other colours I already had. After a light sanding and taping the neck cavity I started with yellow around the outside hoping that once I added the Turquoise over top of it it would become a deep green but that didn’t work out. There was a bit of green but after a second coat of Turquoise that was mostly gone.
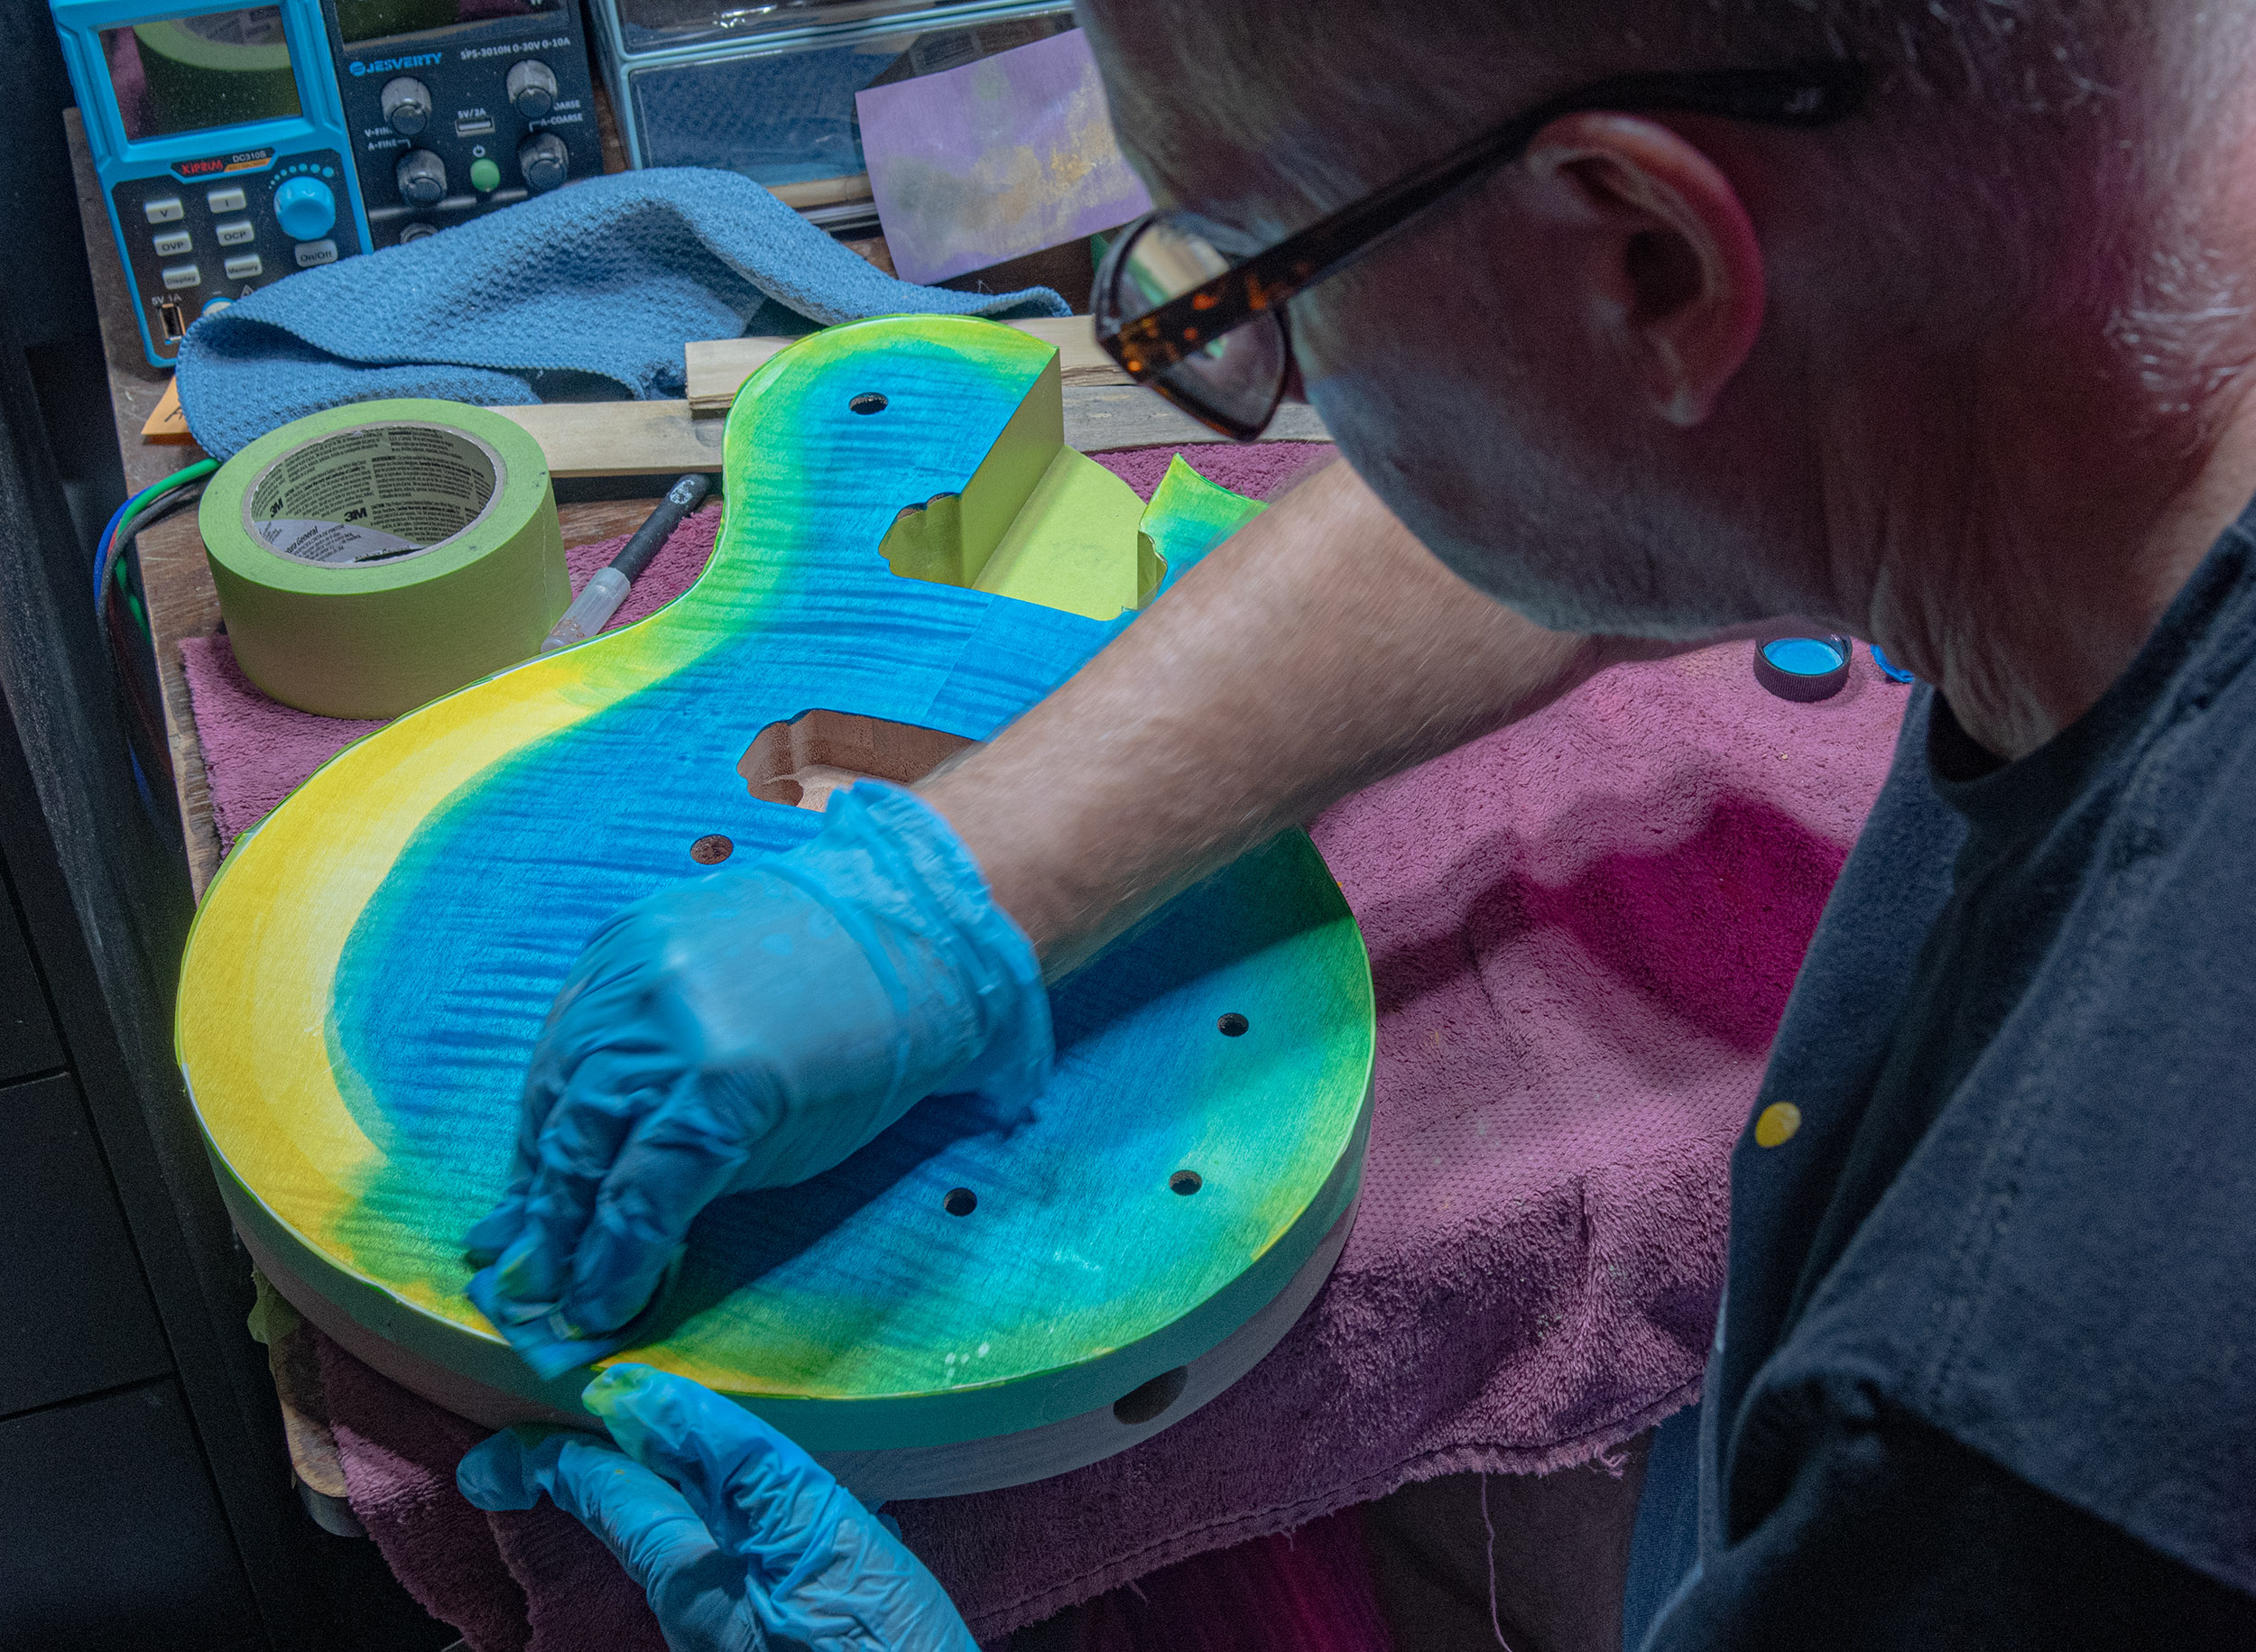
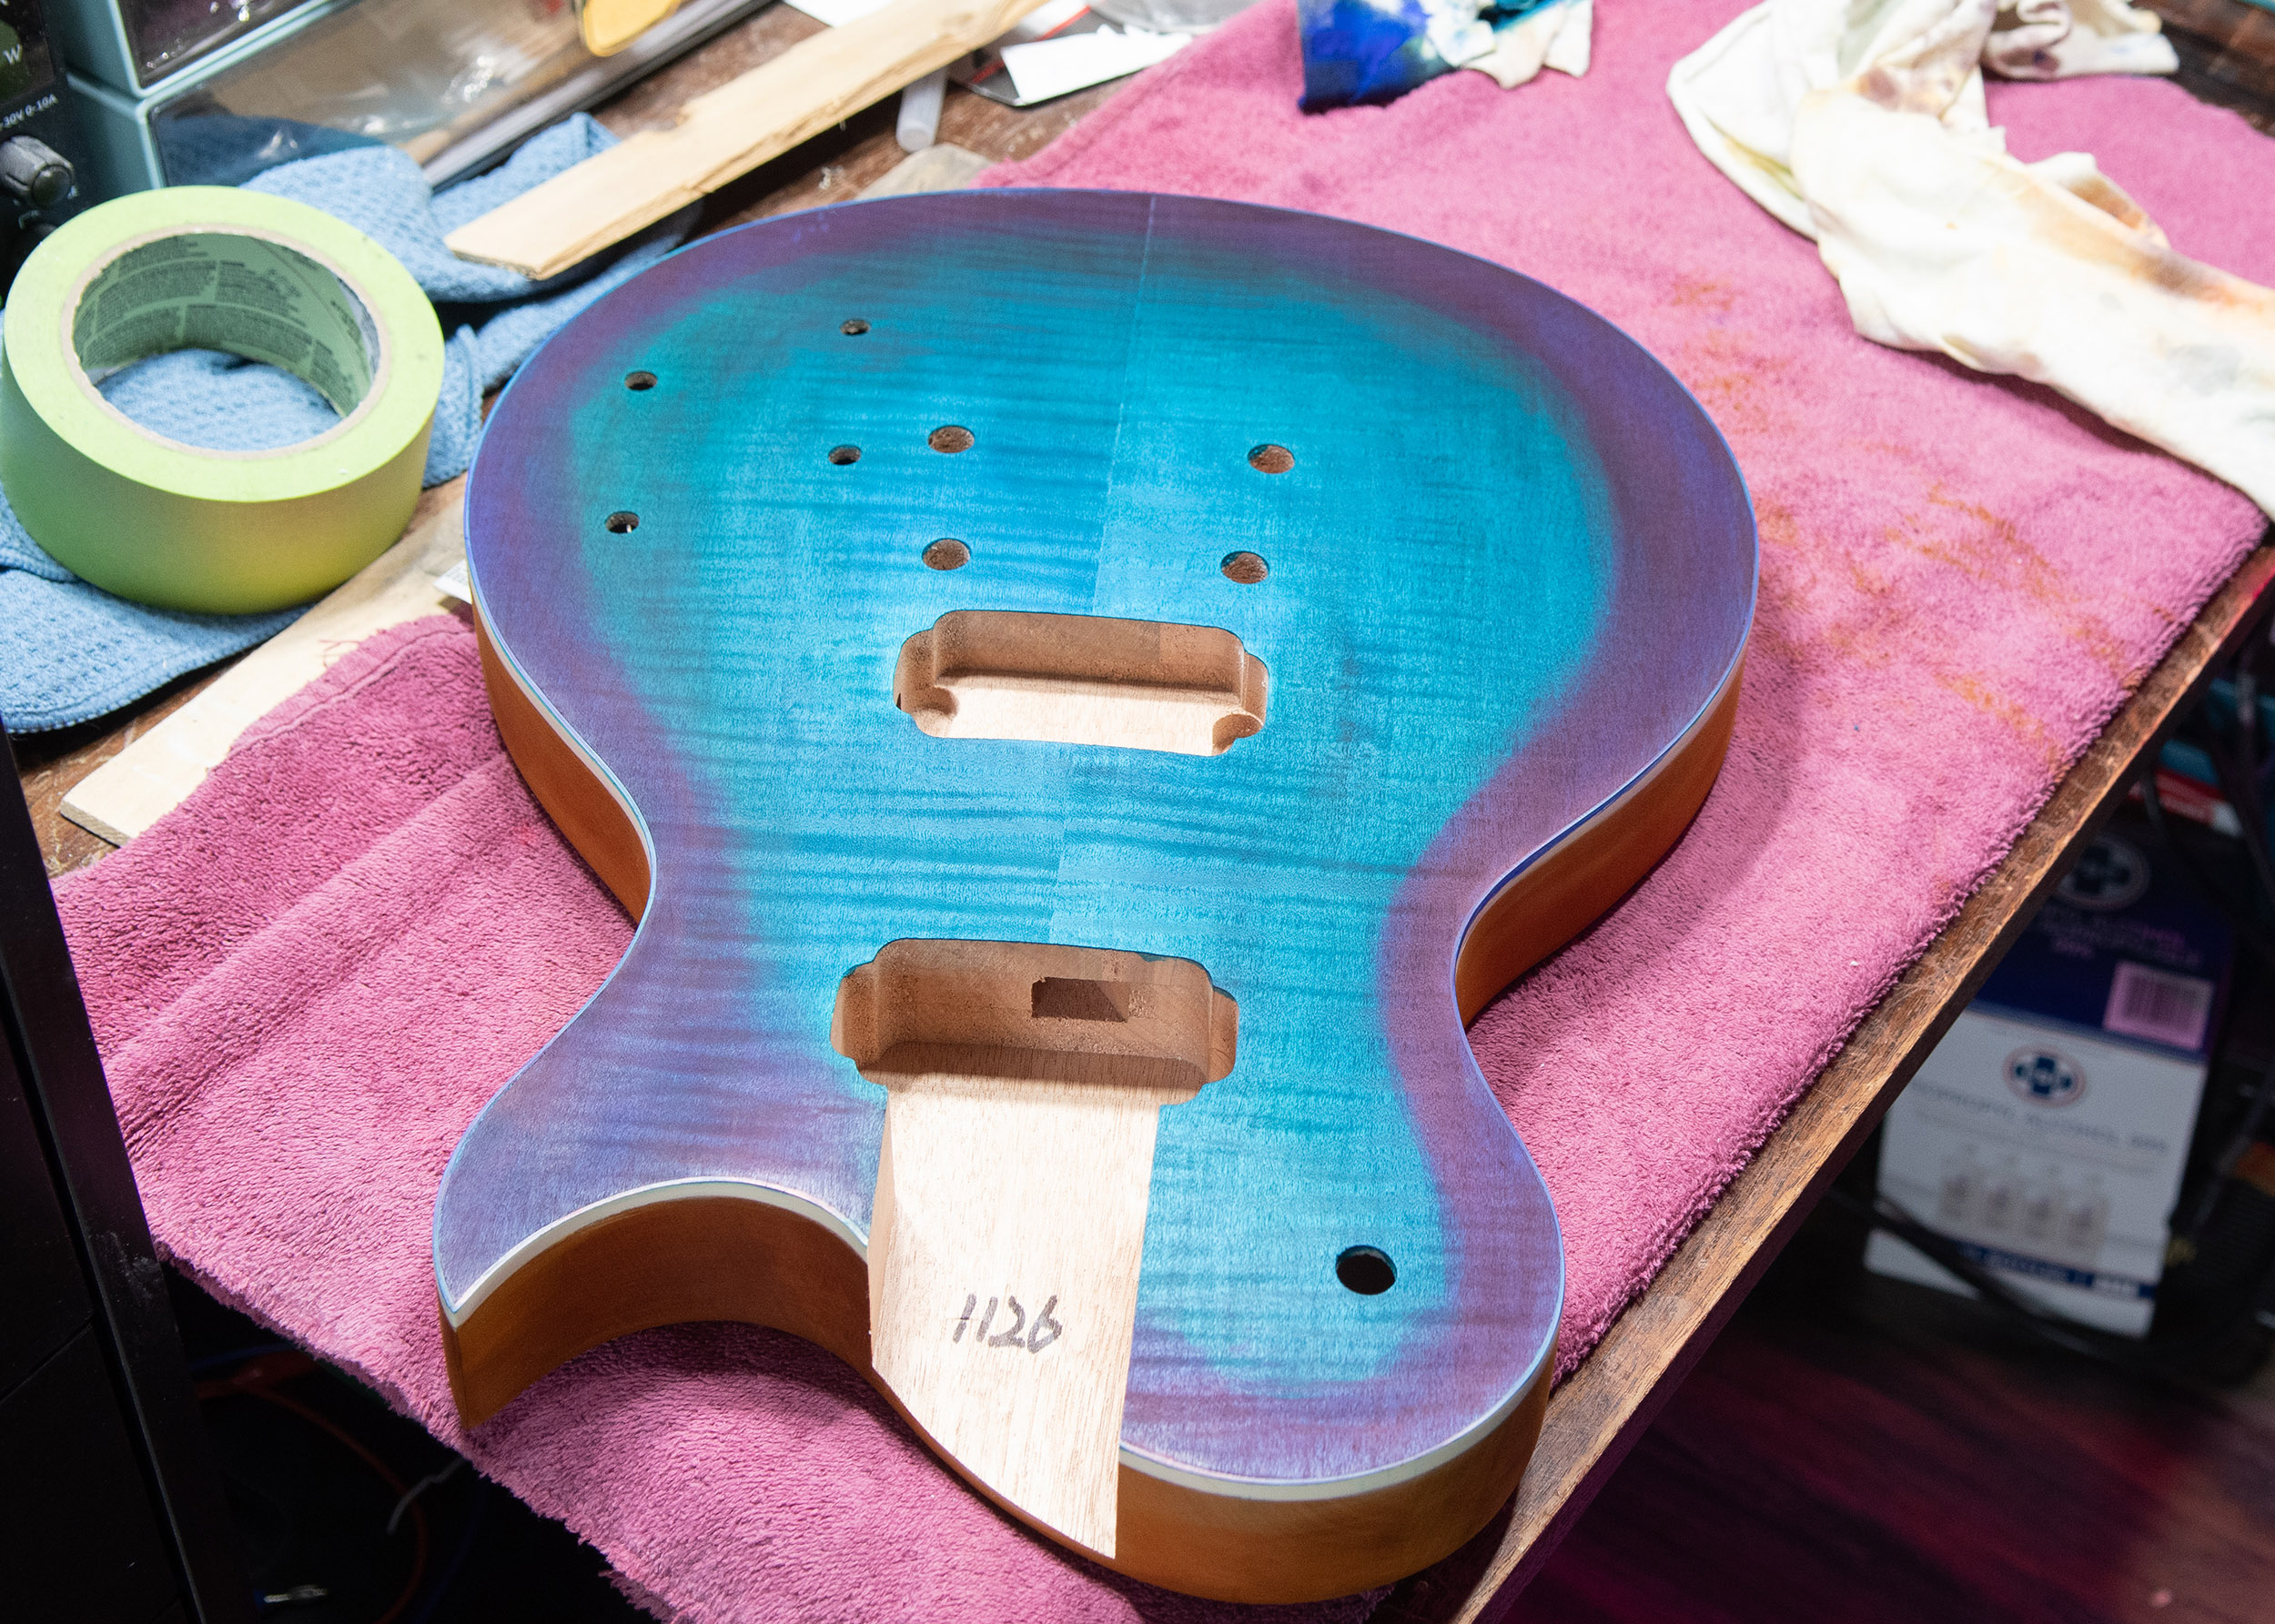
So I ended up adding blue on the outside edge then wiping the turquoise from the center to the outside to blend them together. There’s probably a better way to do this but I don’t know the techniques so this was the best idea I had. When you wipe the dye on there is a very hard edge to it. They don’t really fade like water colour paints. I was able to make it fade nicely but the edge still wasn’t as dark as I’d hoped. Still though, I think it worked out fairly well! It looked pretty nice on it’s own and I figured it would look amazing after adding the clear coat.
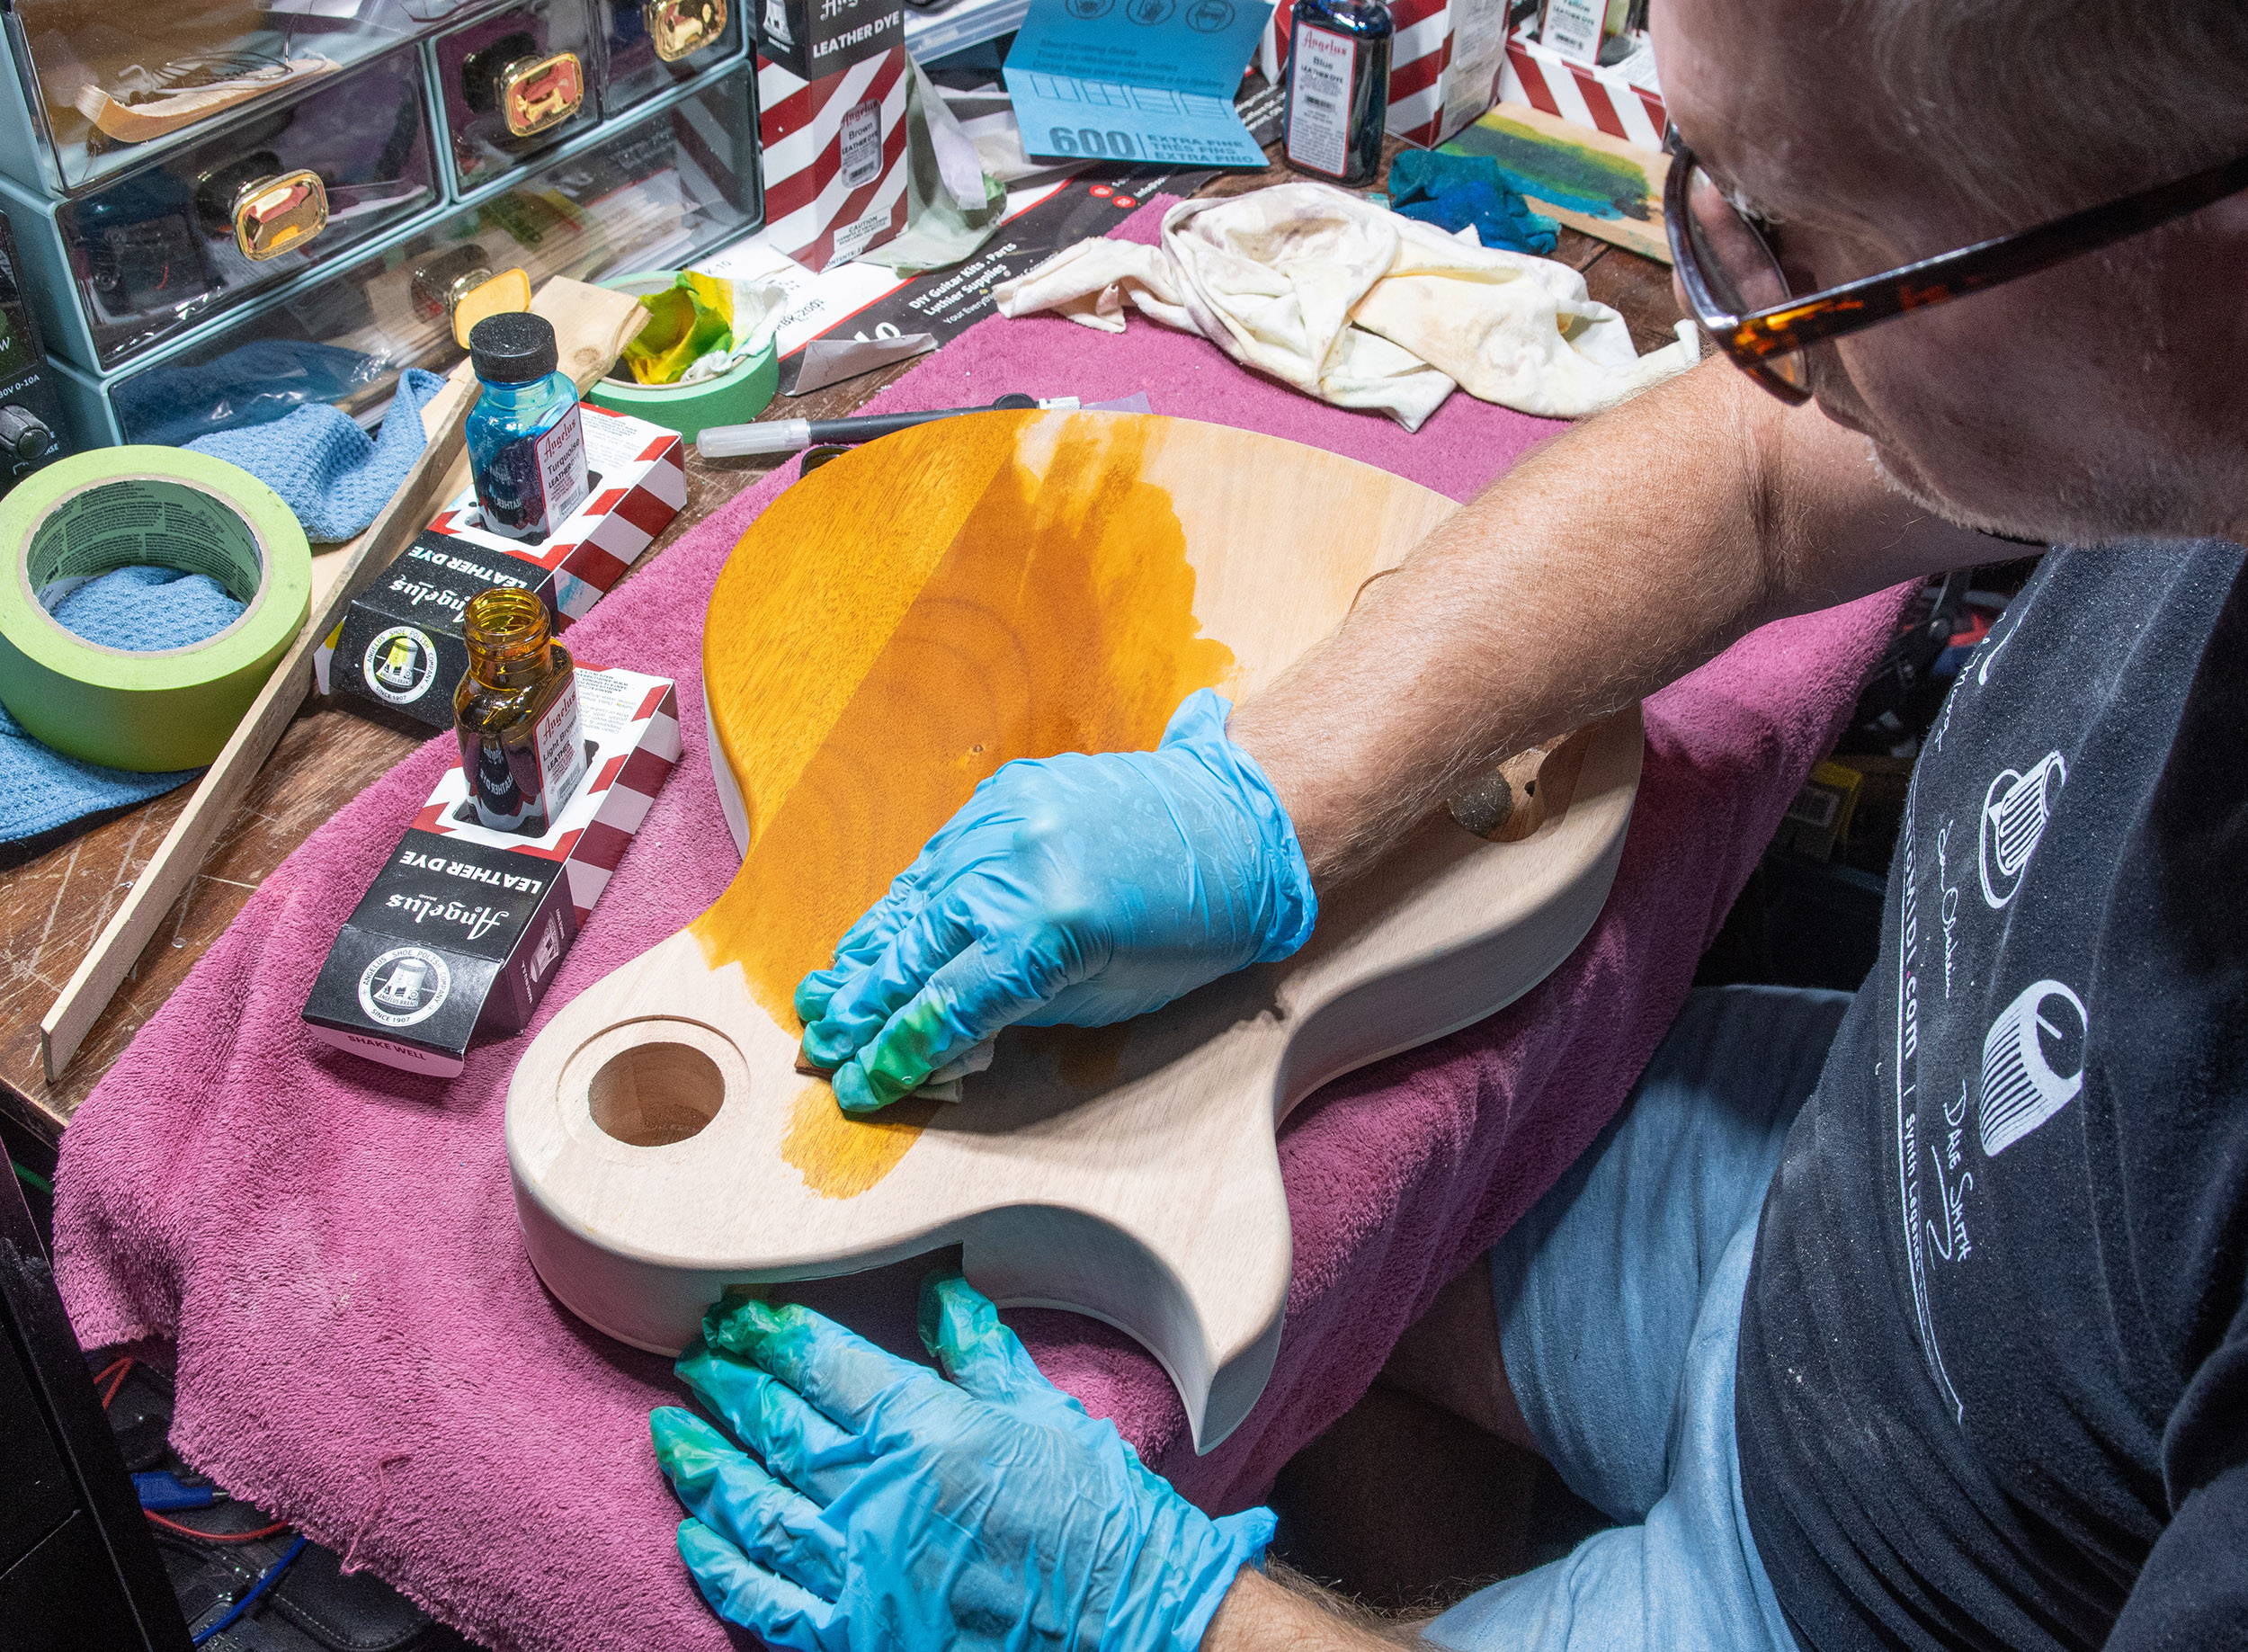
I then did the back in light brown and that was definitely the right choice. I usually leave the neck unfinished so I didn’t think about doing that until after I glued it on but it definitely looks better with the light brown stain on it too.
The headstock… well I’m not too good at making that part look good yet so let’s not talk about it. From a distance it looks great!
I let that sit for a couple of days, scraped the dye off the bindings, and then sprayed it with sanding sealer and let that sit for a day or 2 before doing the clear coats.
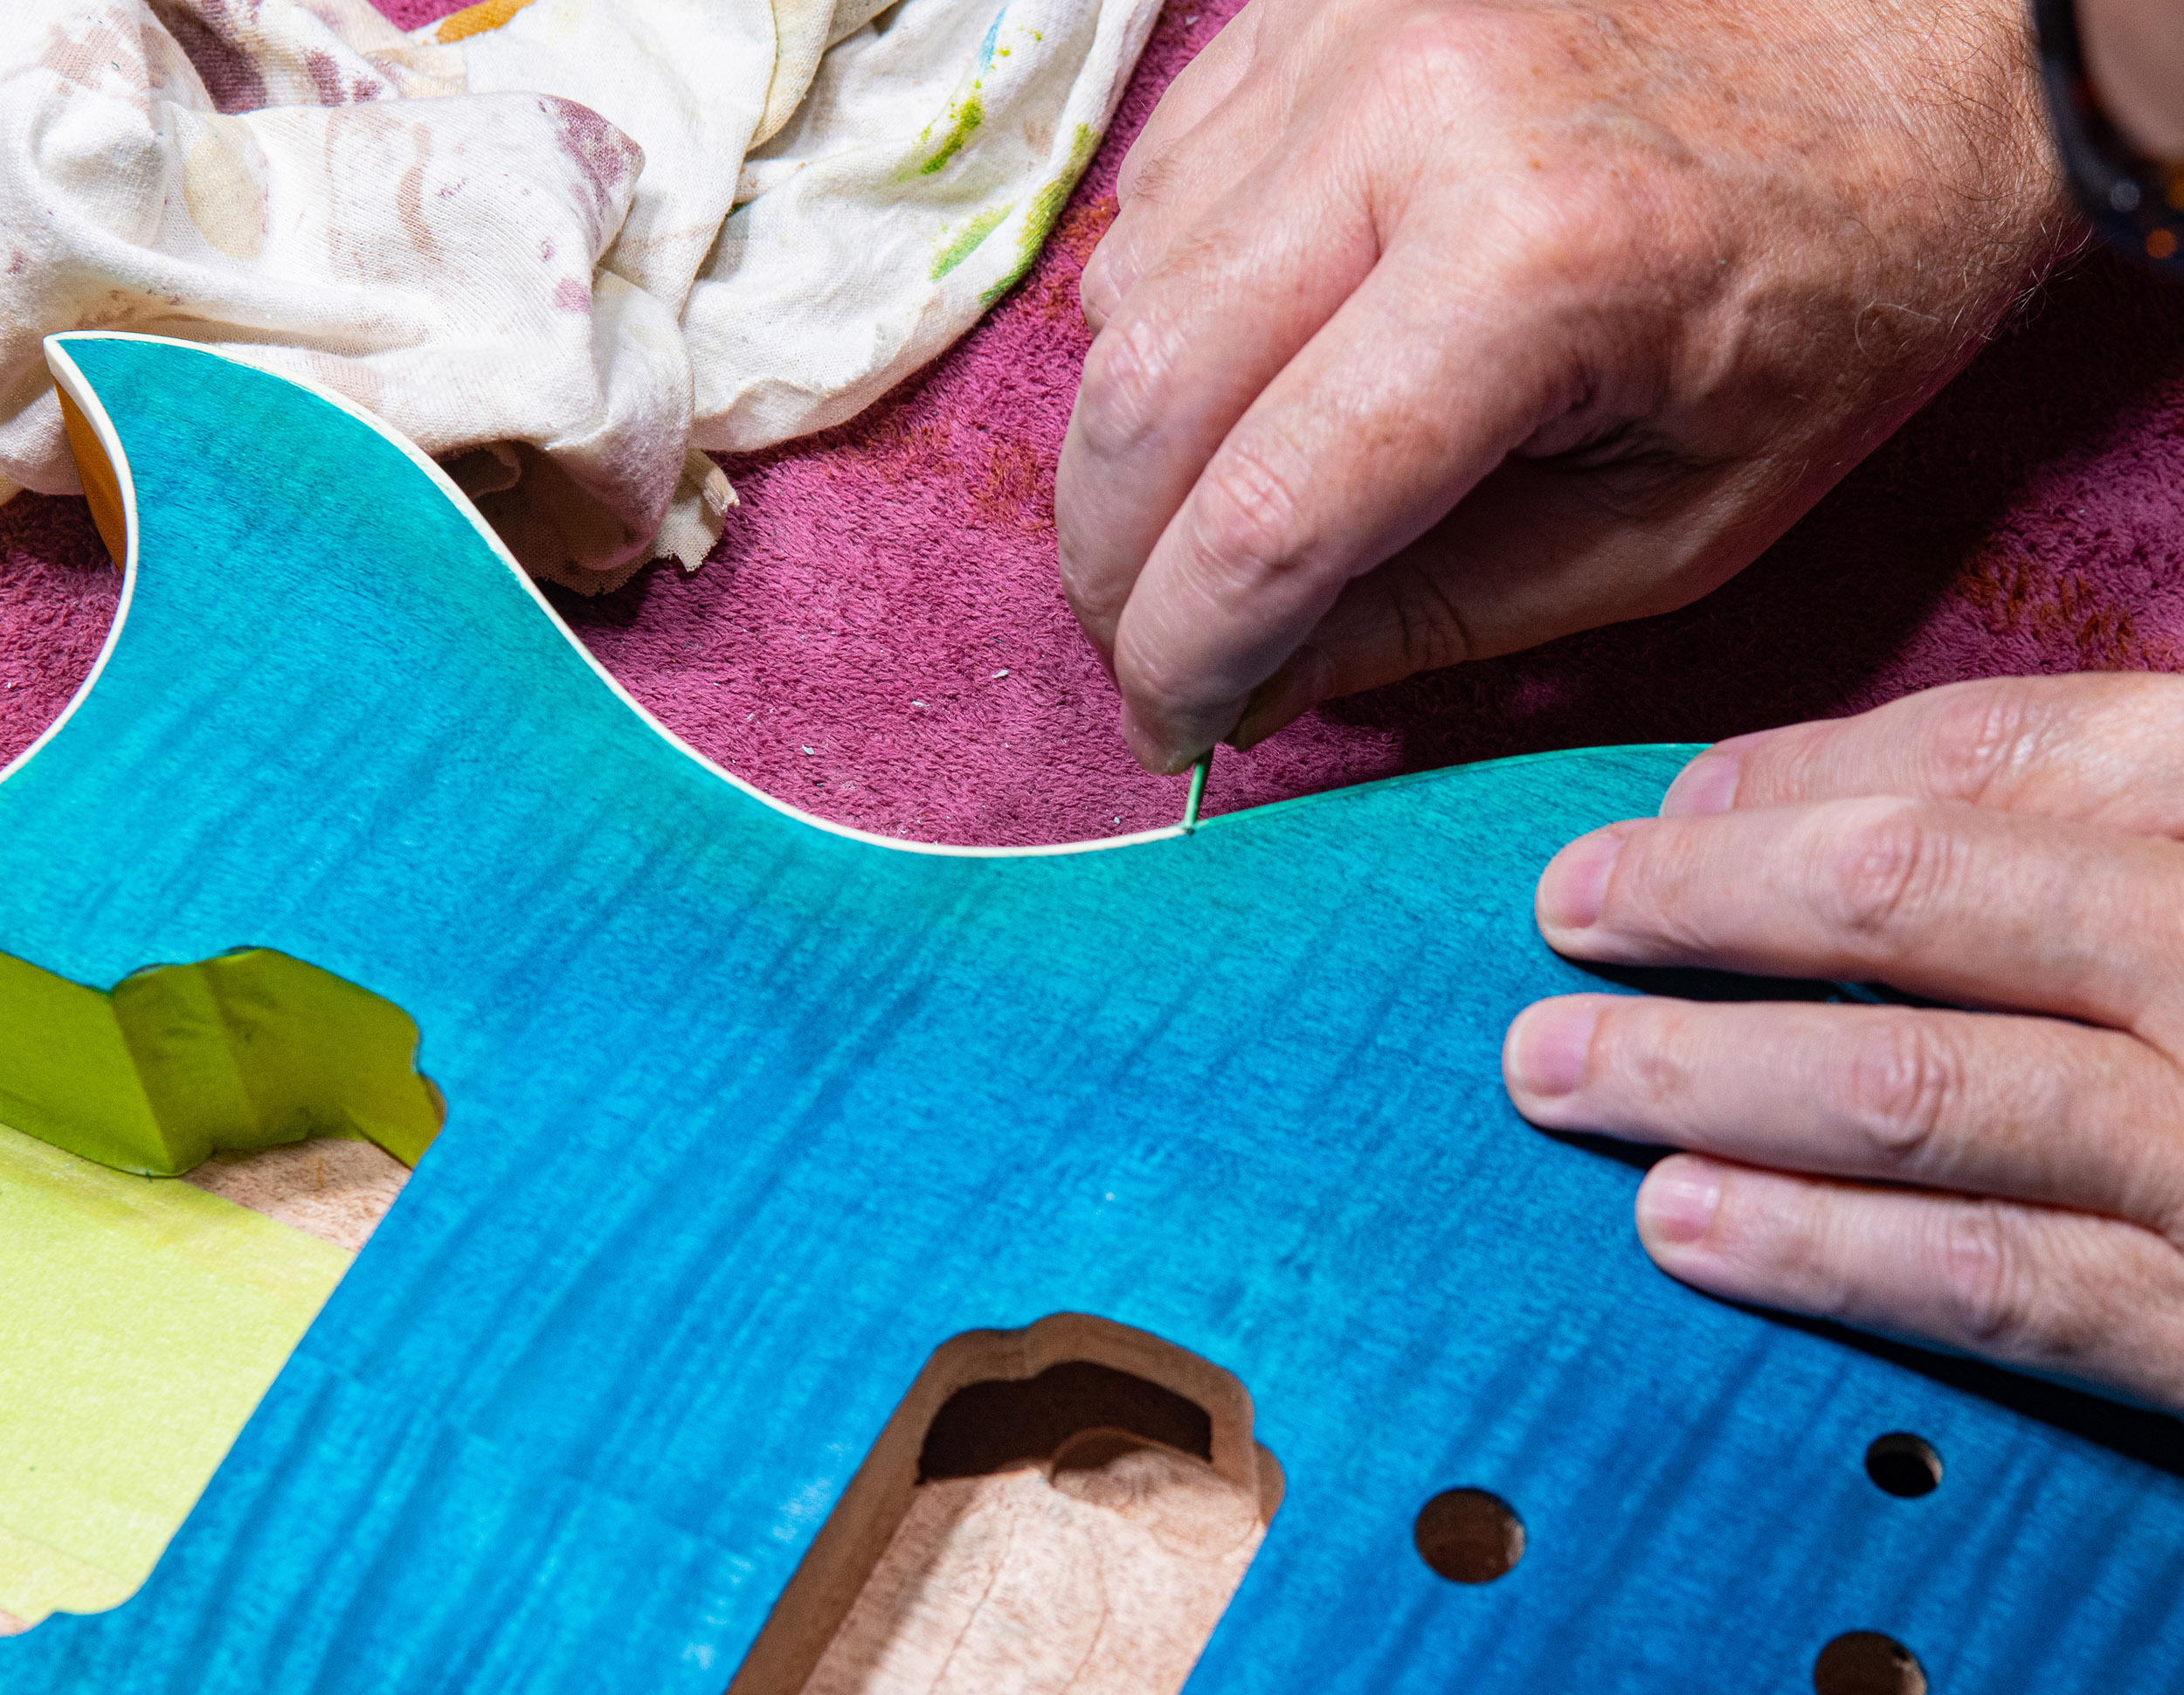
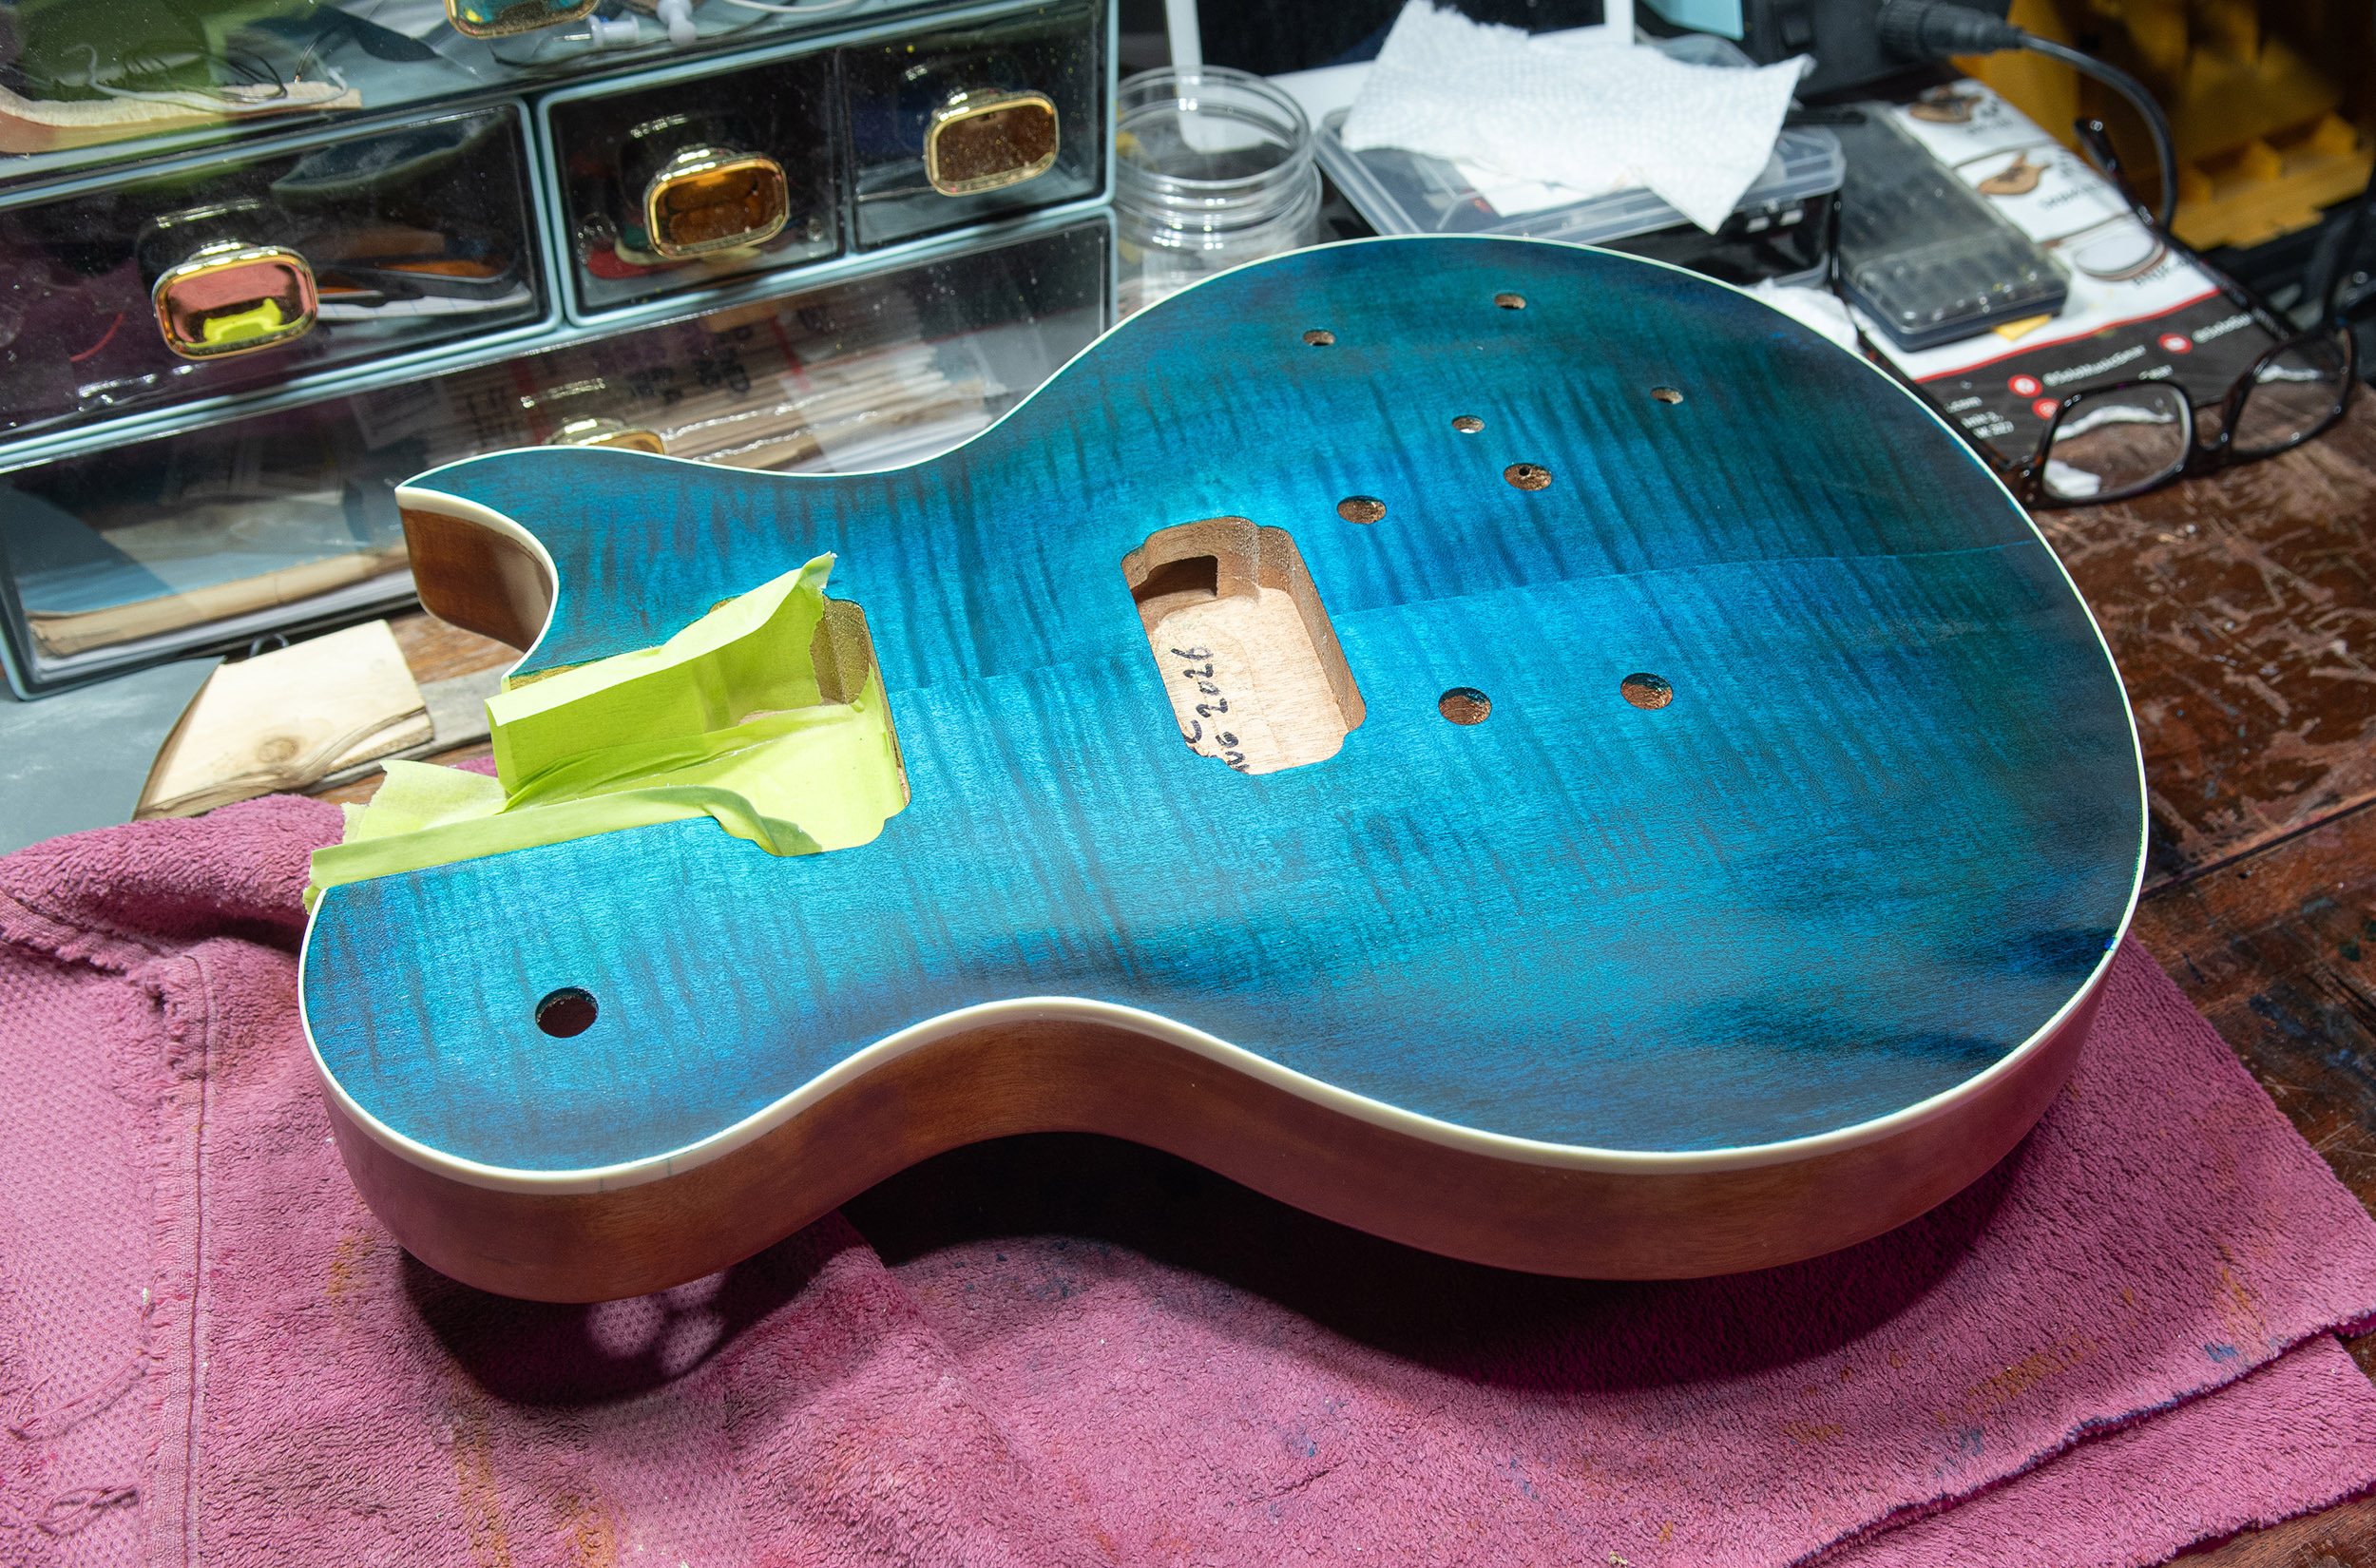
I sprayed around 7 or 8 coats on each side. I would prefer to do more but this stuff is expensive and I thought it would be enough.
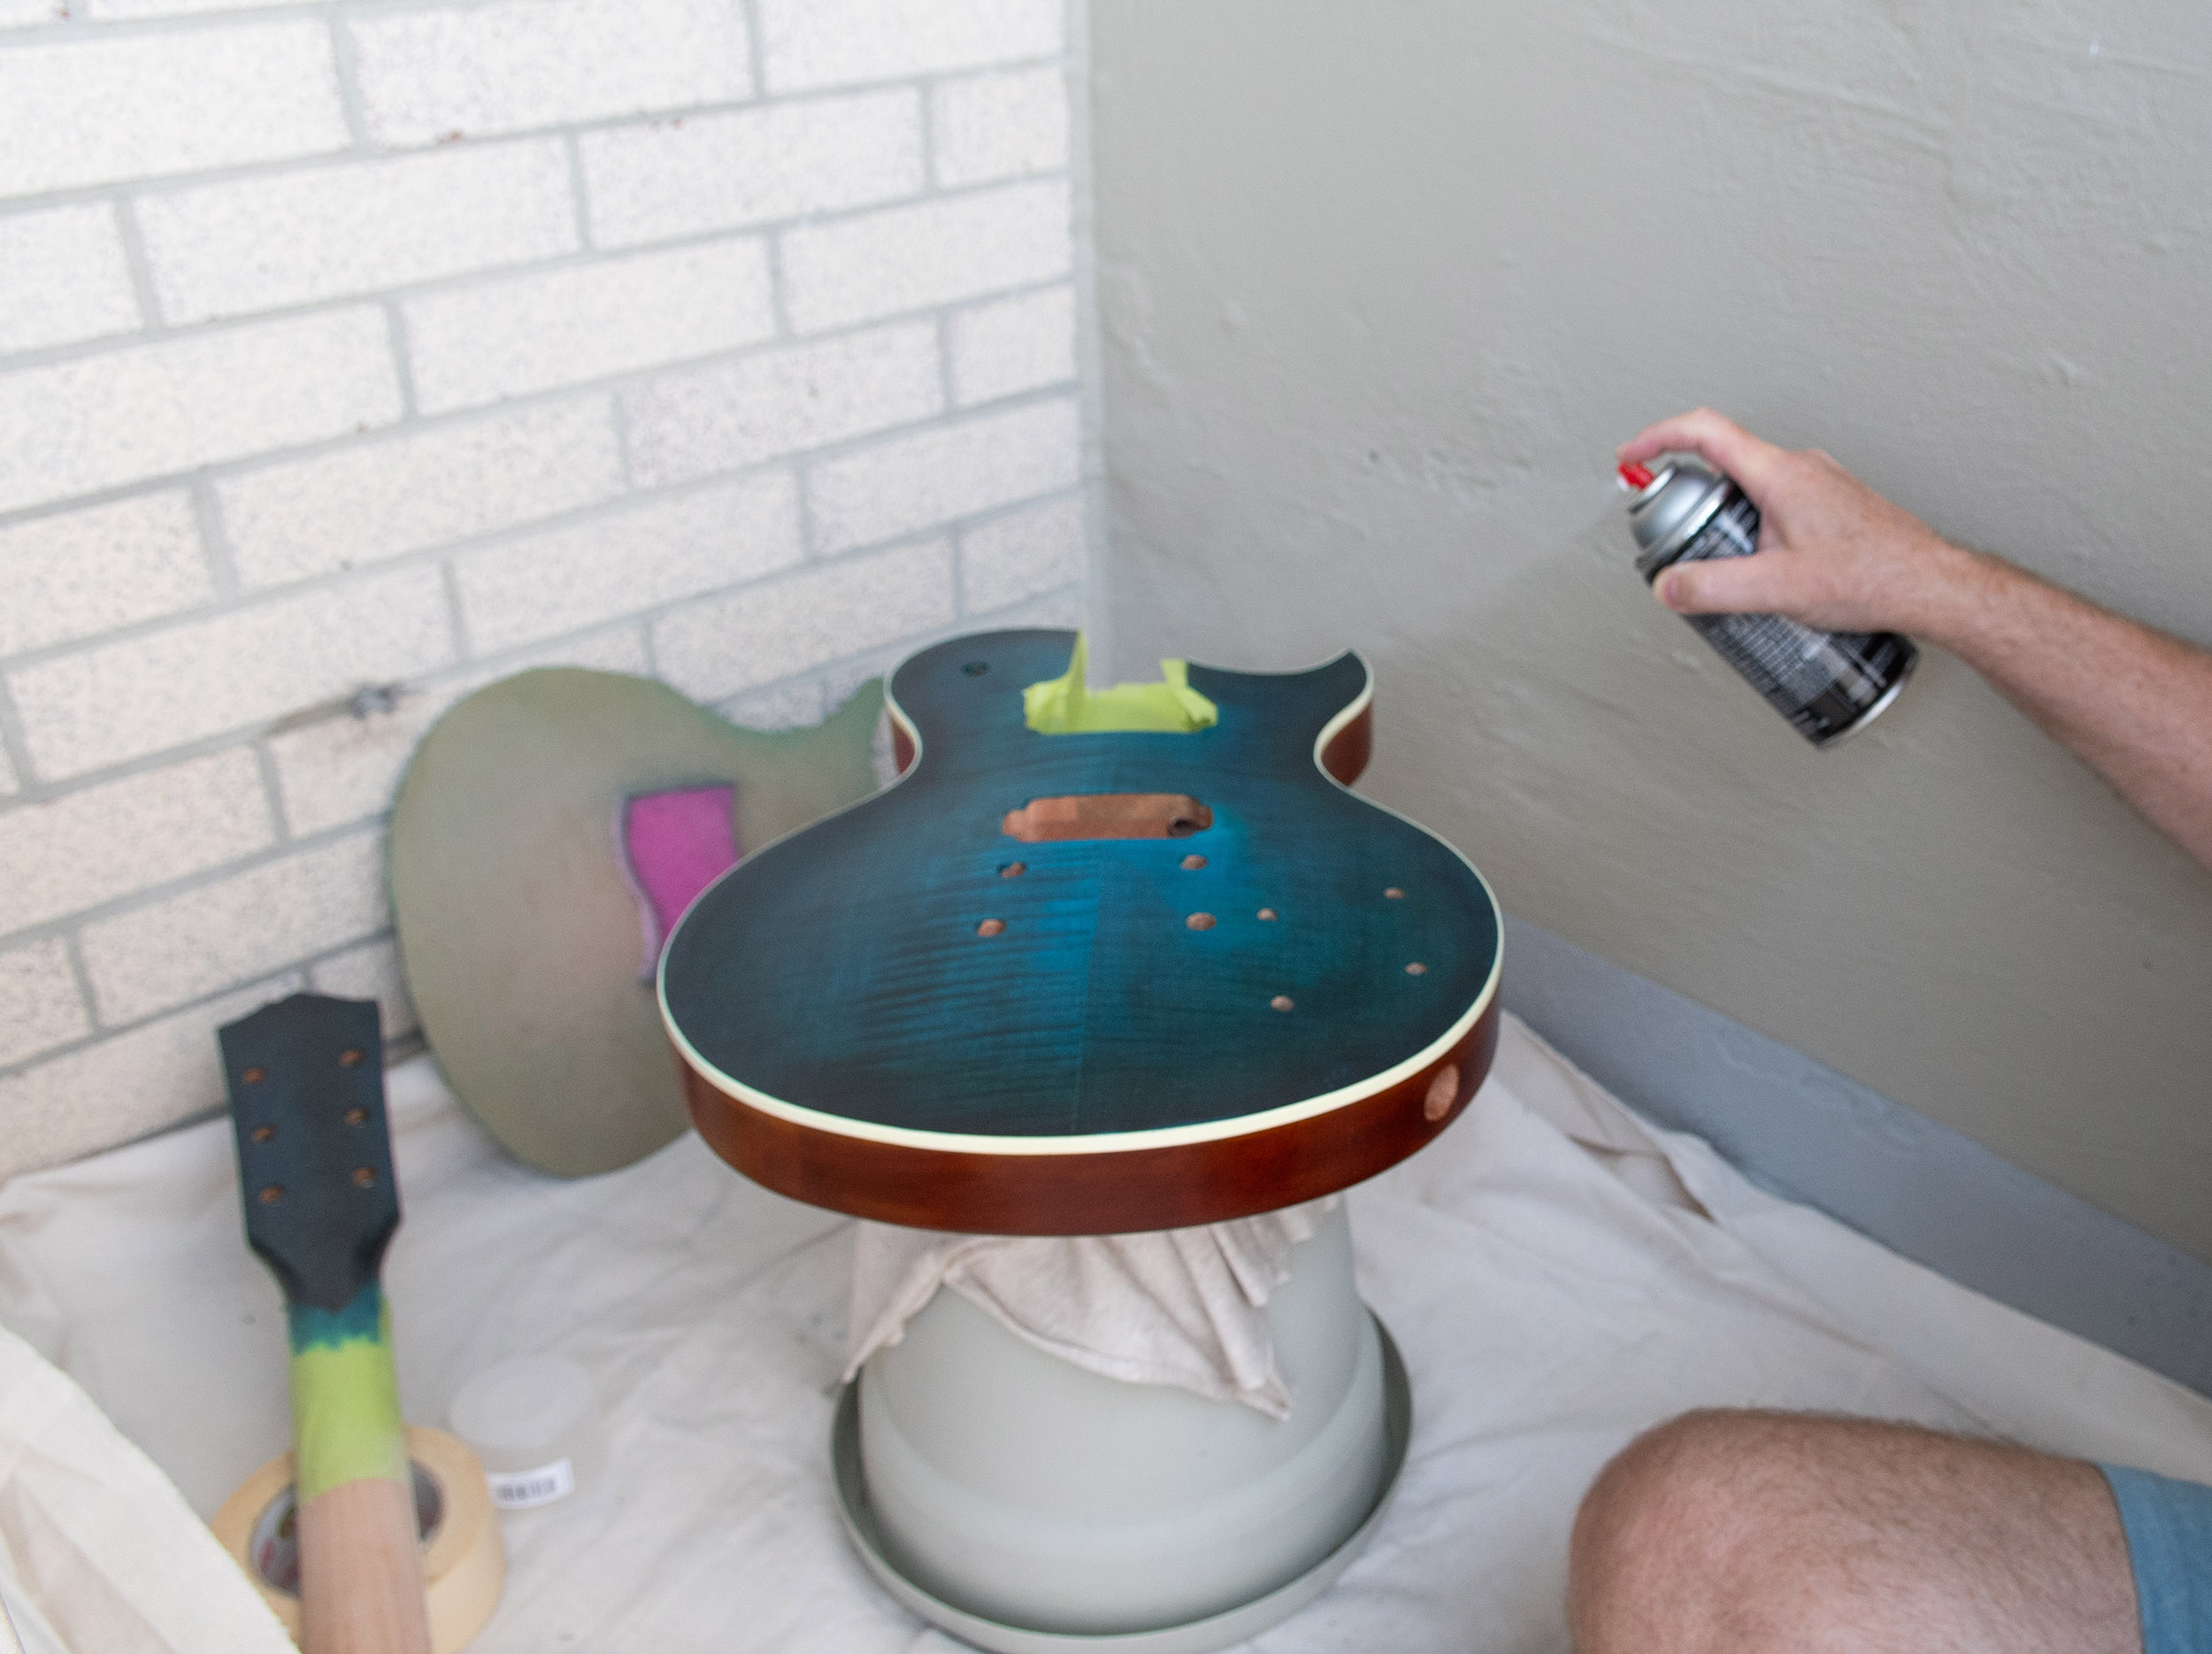
I heard that it’s best to let the clear coat cure for 30 days so I let it sit for more than 3 weeks
Then the long wait while it cured. Waiting…. waiting…
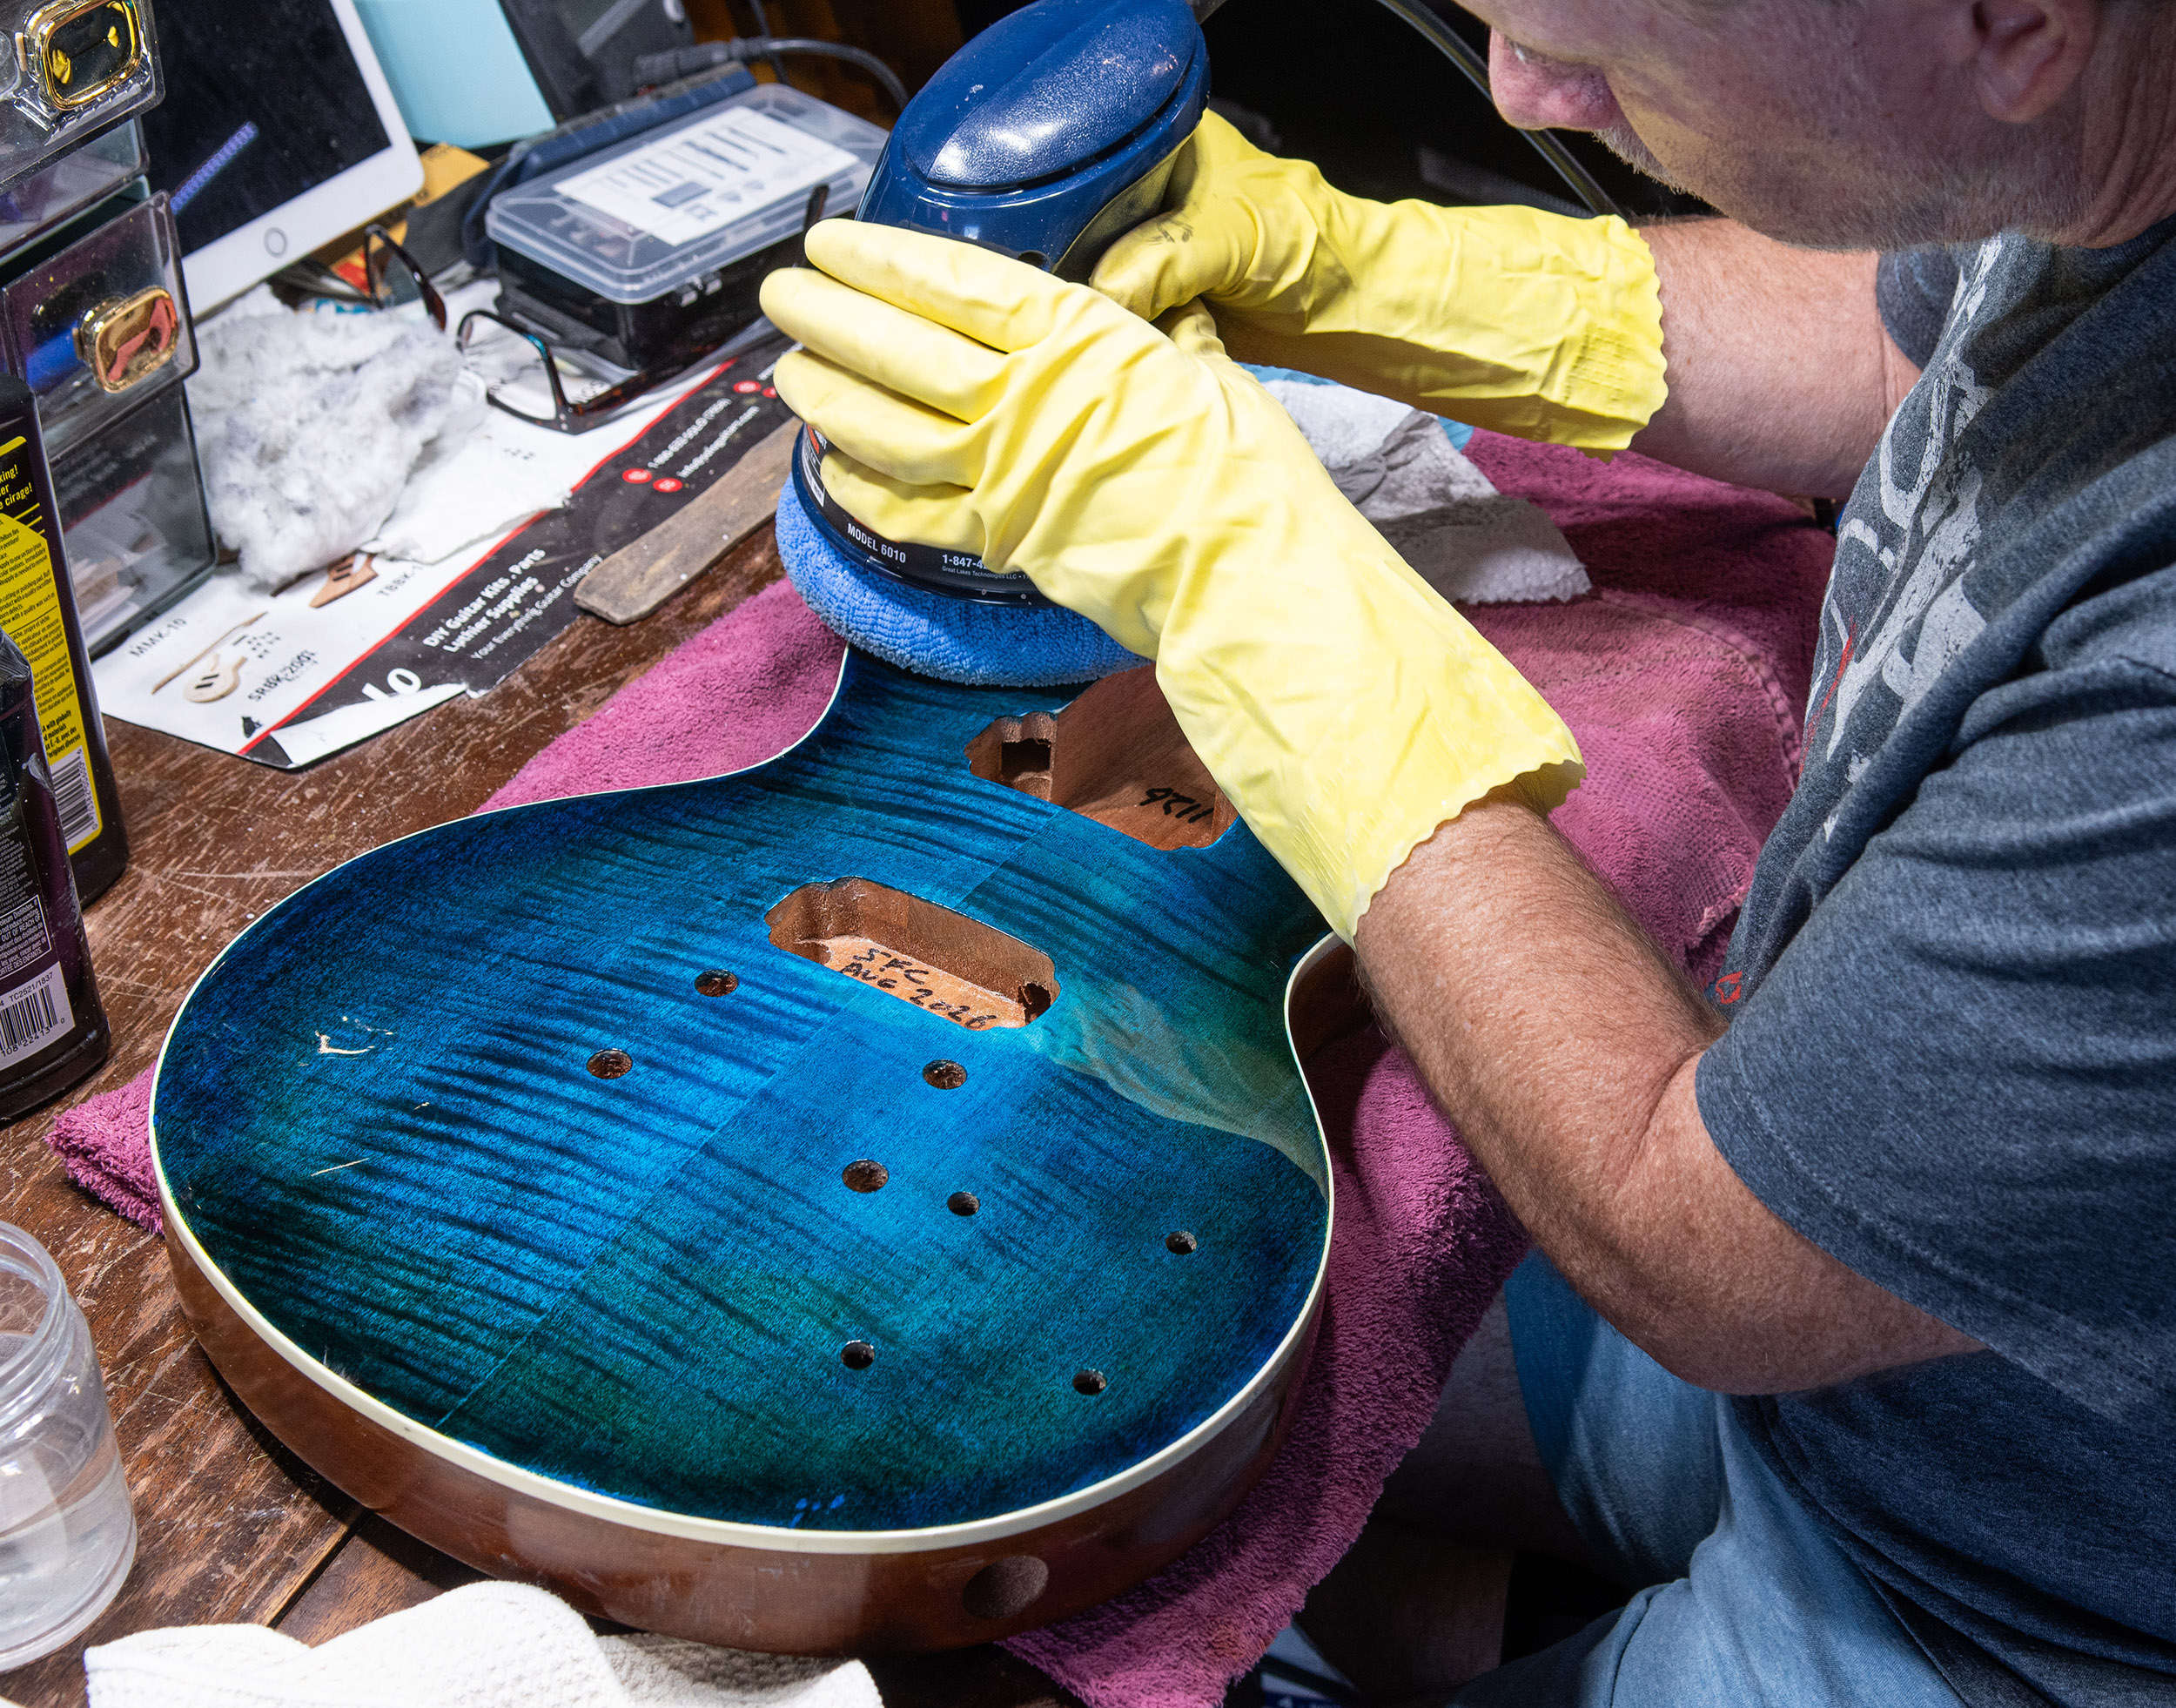
After curing for more than 3 weeks I sanded it and decided I could do better so I ended up doing a few more coats and then let it sit 2 more weeks. Then I wet sanded with 1000, then 2000 then 3000 grit sandpaper to get it very smooth and then polished it. I really should have sanded it longer with the 1000 to get all the tiny scratches out but I’m not known for being patient. Plus it gets scratched up pretty fast once I start playing it anyway, so, close enough!
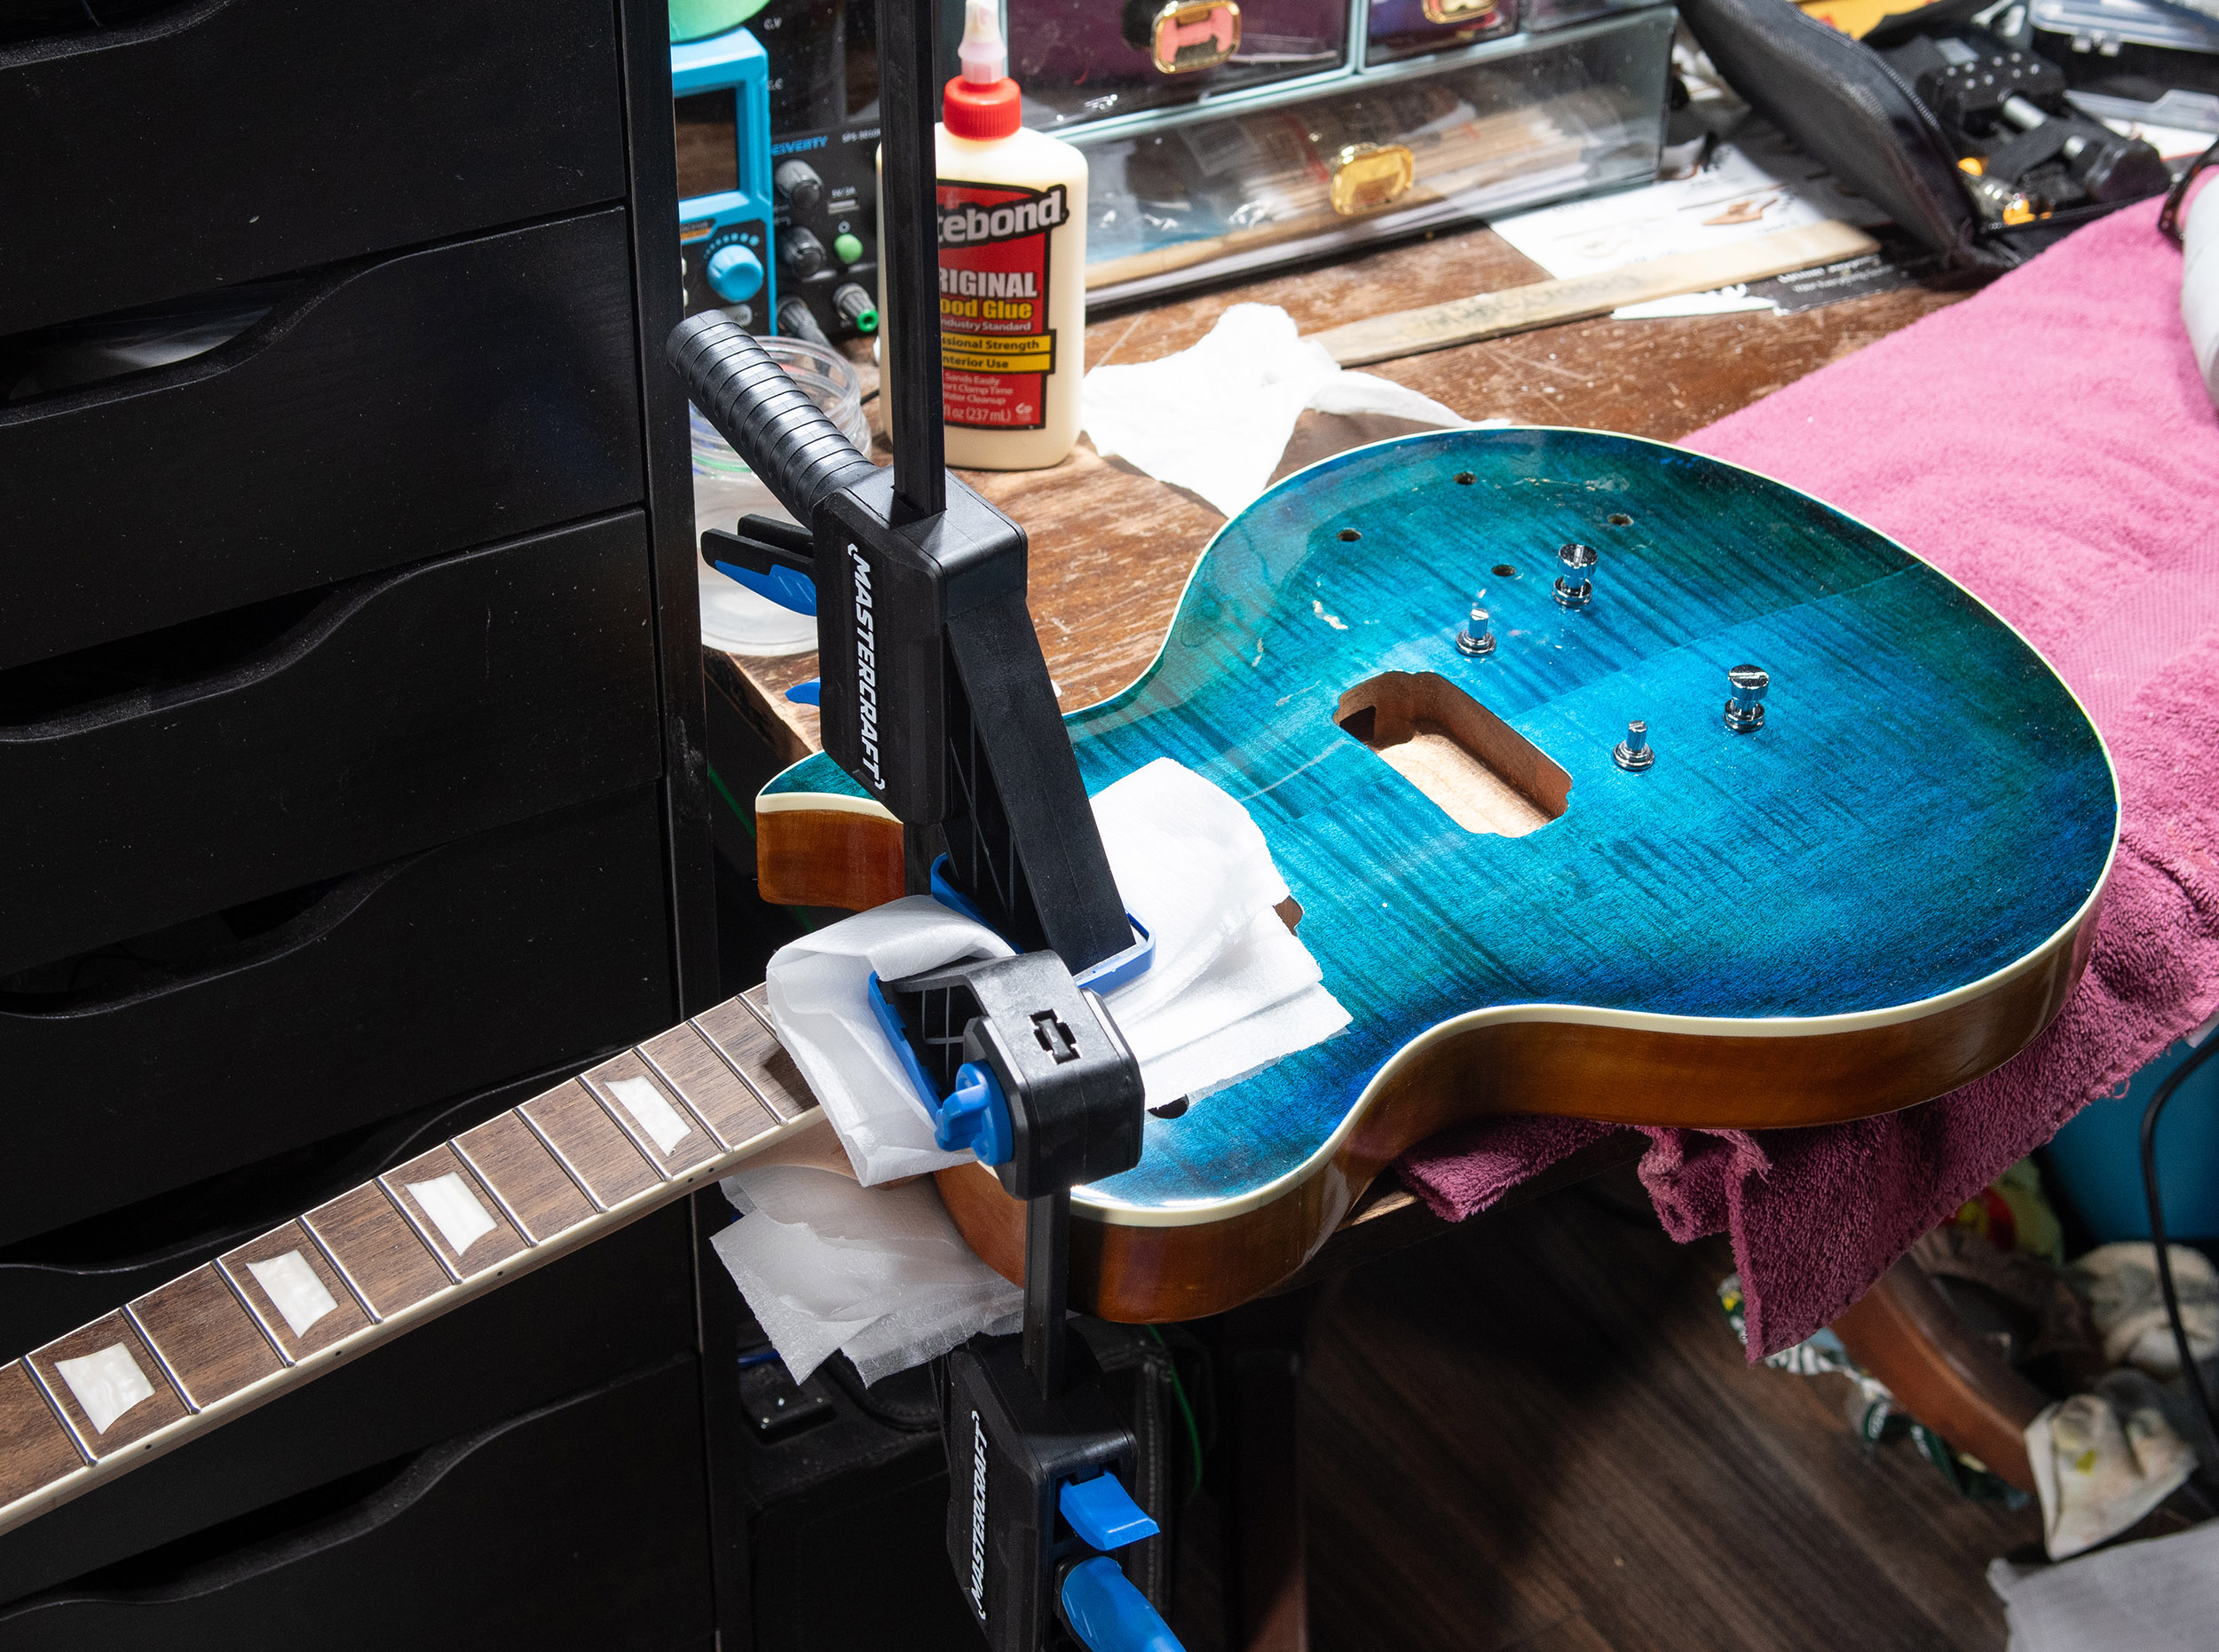
Next came the neck. There wasn’t a lot to do, really. It fit very tightly and seemed perfectly aligned already so I only sanded it a bit to loosen it up so there would be room for the glue. I also lightly sanded it with 120 sandpaper to rough it up to give the glue lots to grab. I added the 2 E string tuners, the tail piece and the bridge so I could add those 2 strings and confirm that the neck was going to be straight and that the string height would be okay. Everything looked good so I applied some Titebond Original Wood Glue and clamped it.
One thing I learned was that doing the actual clamping was a bit awkward so if I do another one (and I probably will!!) I will do a full dry run to make sure I know exactly how everything needs to be done in advance! I also realized I needed to look closely at all angles so that I could double check that it was sitting correctly after clamping. The last thing you want is to be wondering if it’s right while the glue is drying. Take photos for comparison!
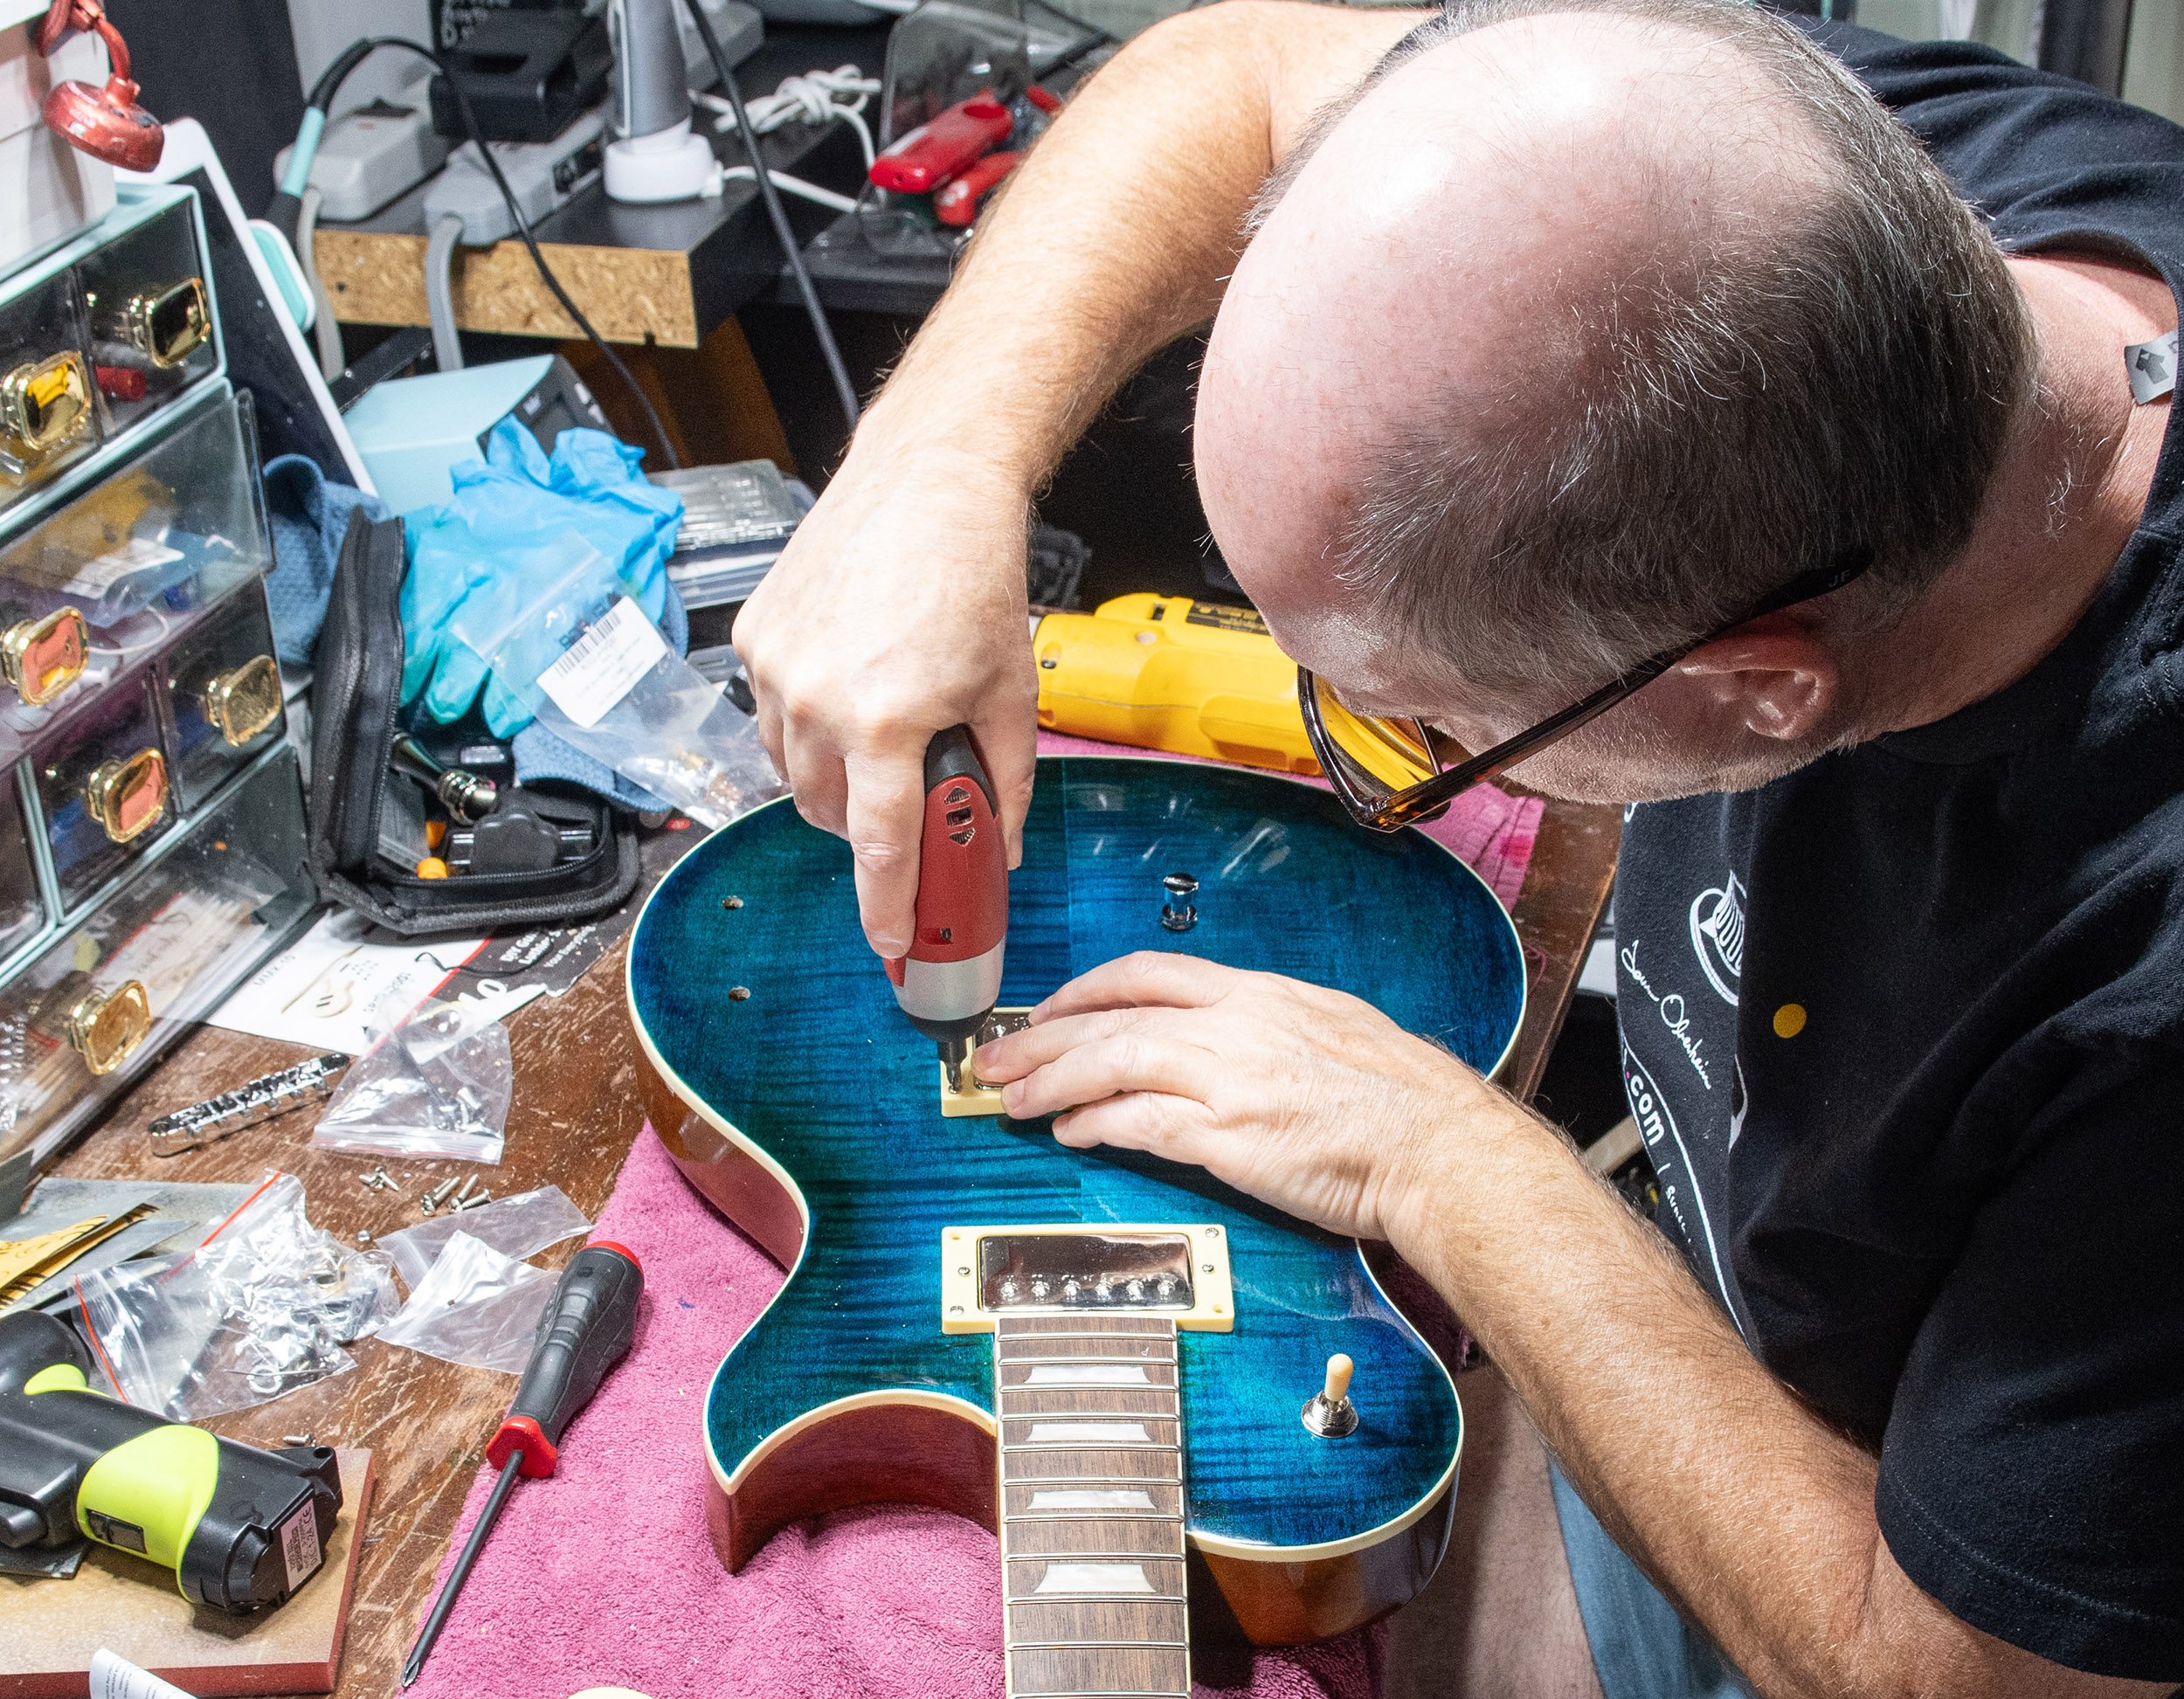
Anyway, against all odds, it worked! I let that cure for a couple of days just to be sure then added all the rest of the hardware. I did get better machine heads, bridge and tail piece from Musiclily, and the pickups are GFS Classic II Alnico 2 Vintage Wound Humbuckers.
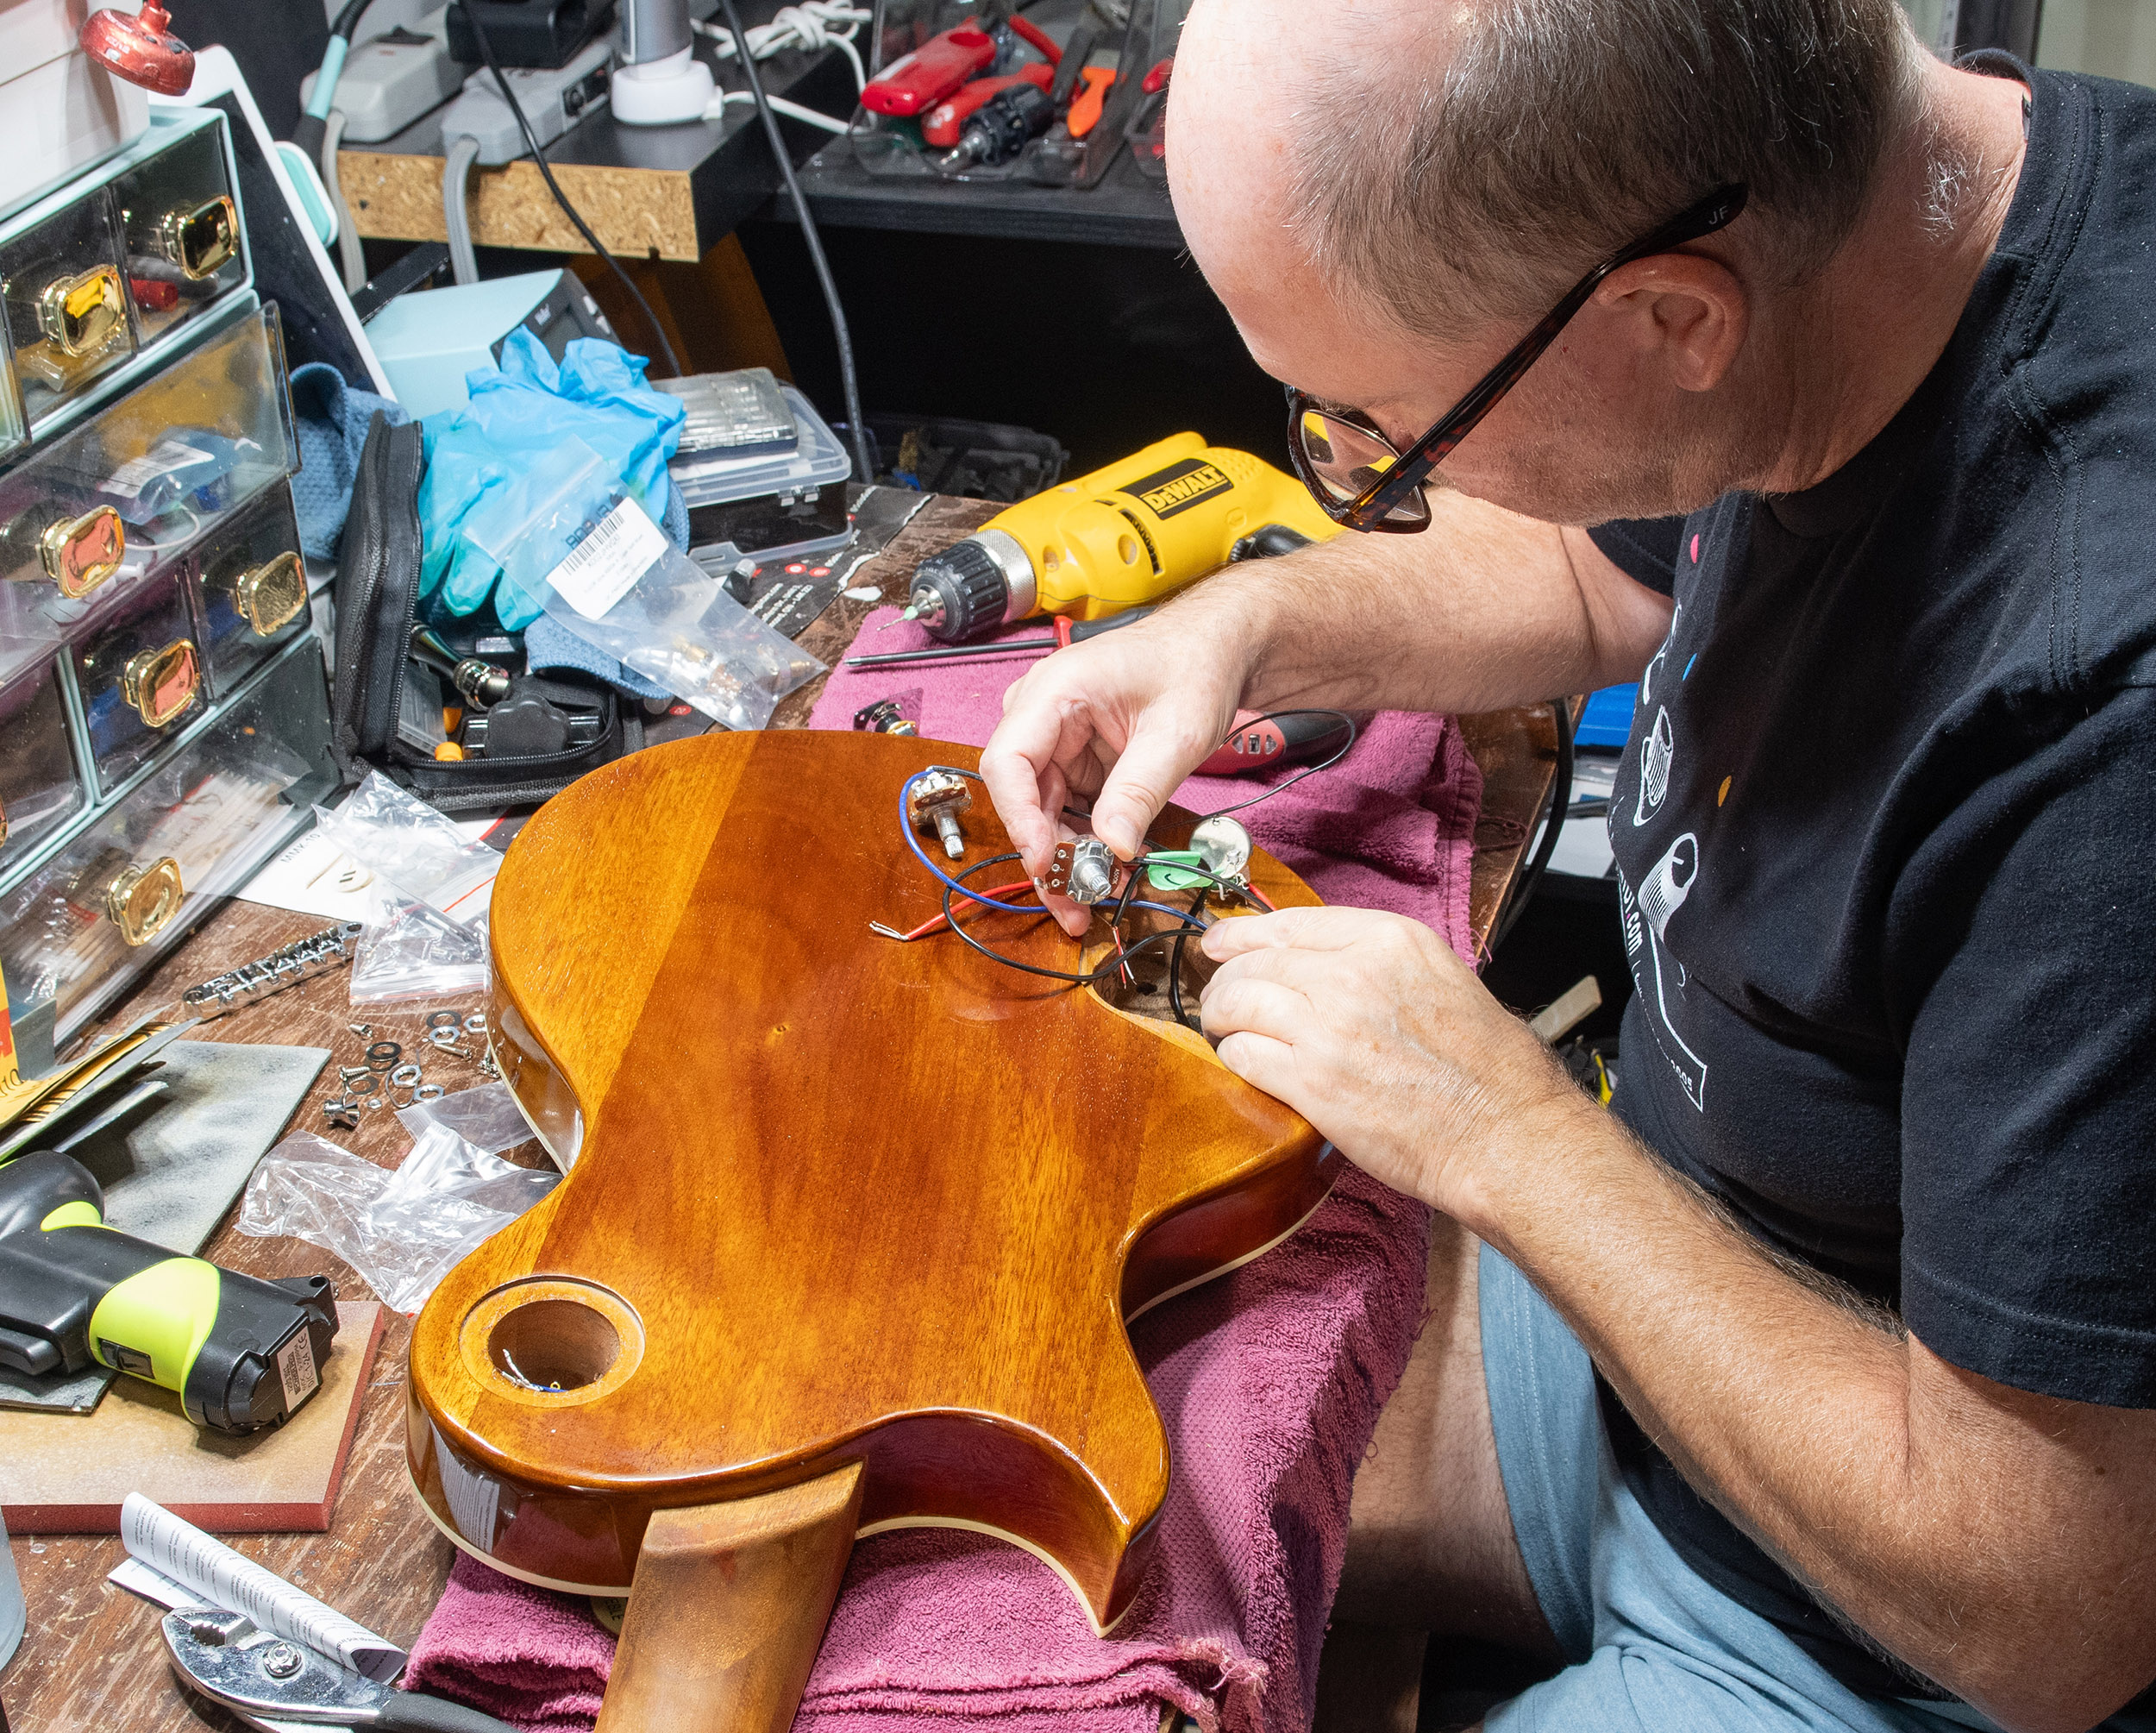
I also replaced both volume pots with new ones that have push/push switches. The bridge volume switch puts the bridge pickup out of phase and the neck volume switch switches that pickup to single coil for a slightly lower output and cleaner sound. Normally I’d do that with the bridge pickup but I thought I’d try something different. It doesn’t make a lot of difference but maybe it’ll be useful once in a while.
After testing it out I realized I first needed to file down the nut slots a bit because the strings were too high at that end, then I needed to do a fret leveling on the top 10 or so frets, something I usually do with these kits. After that I was able to get the action down nice and low.
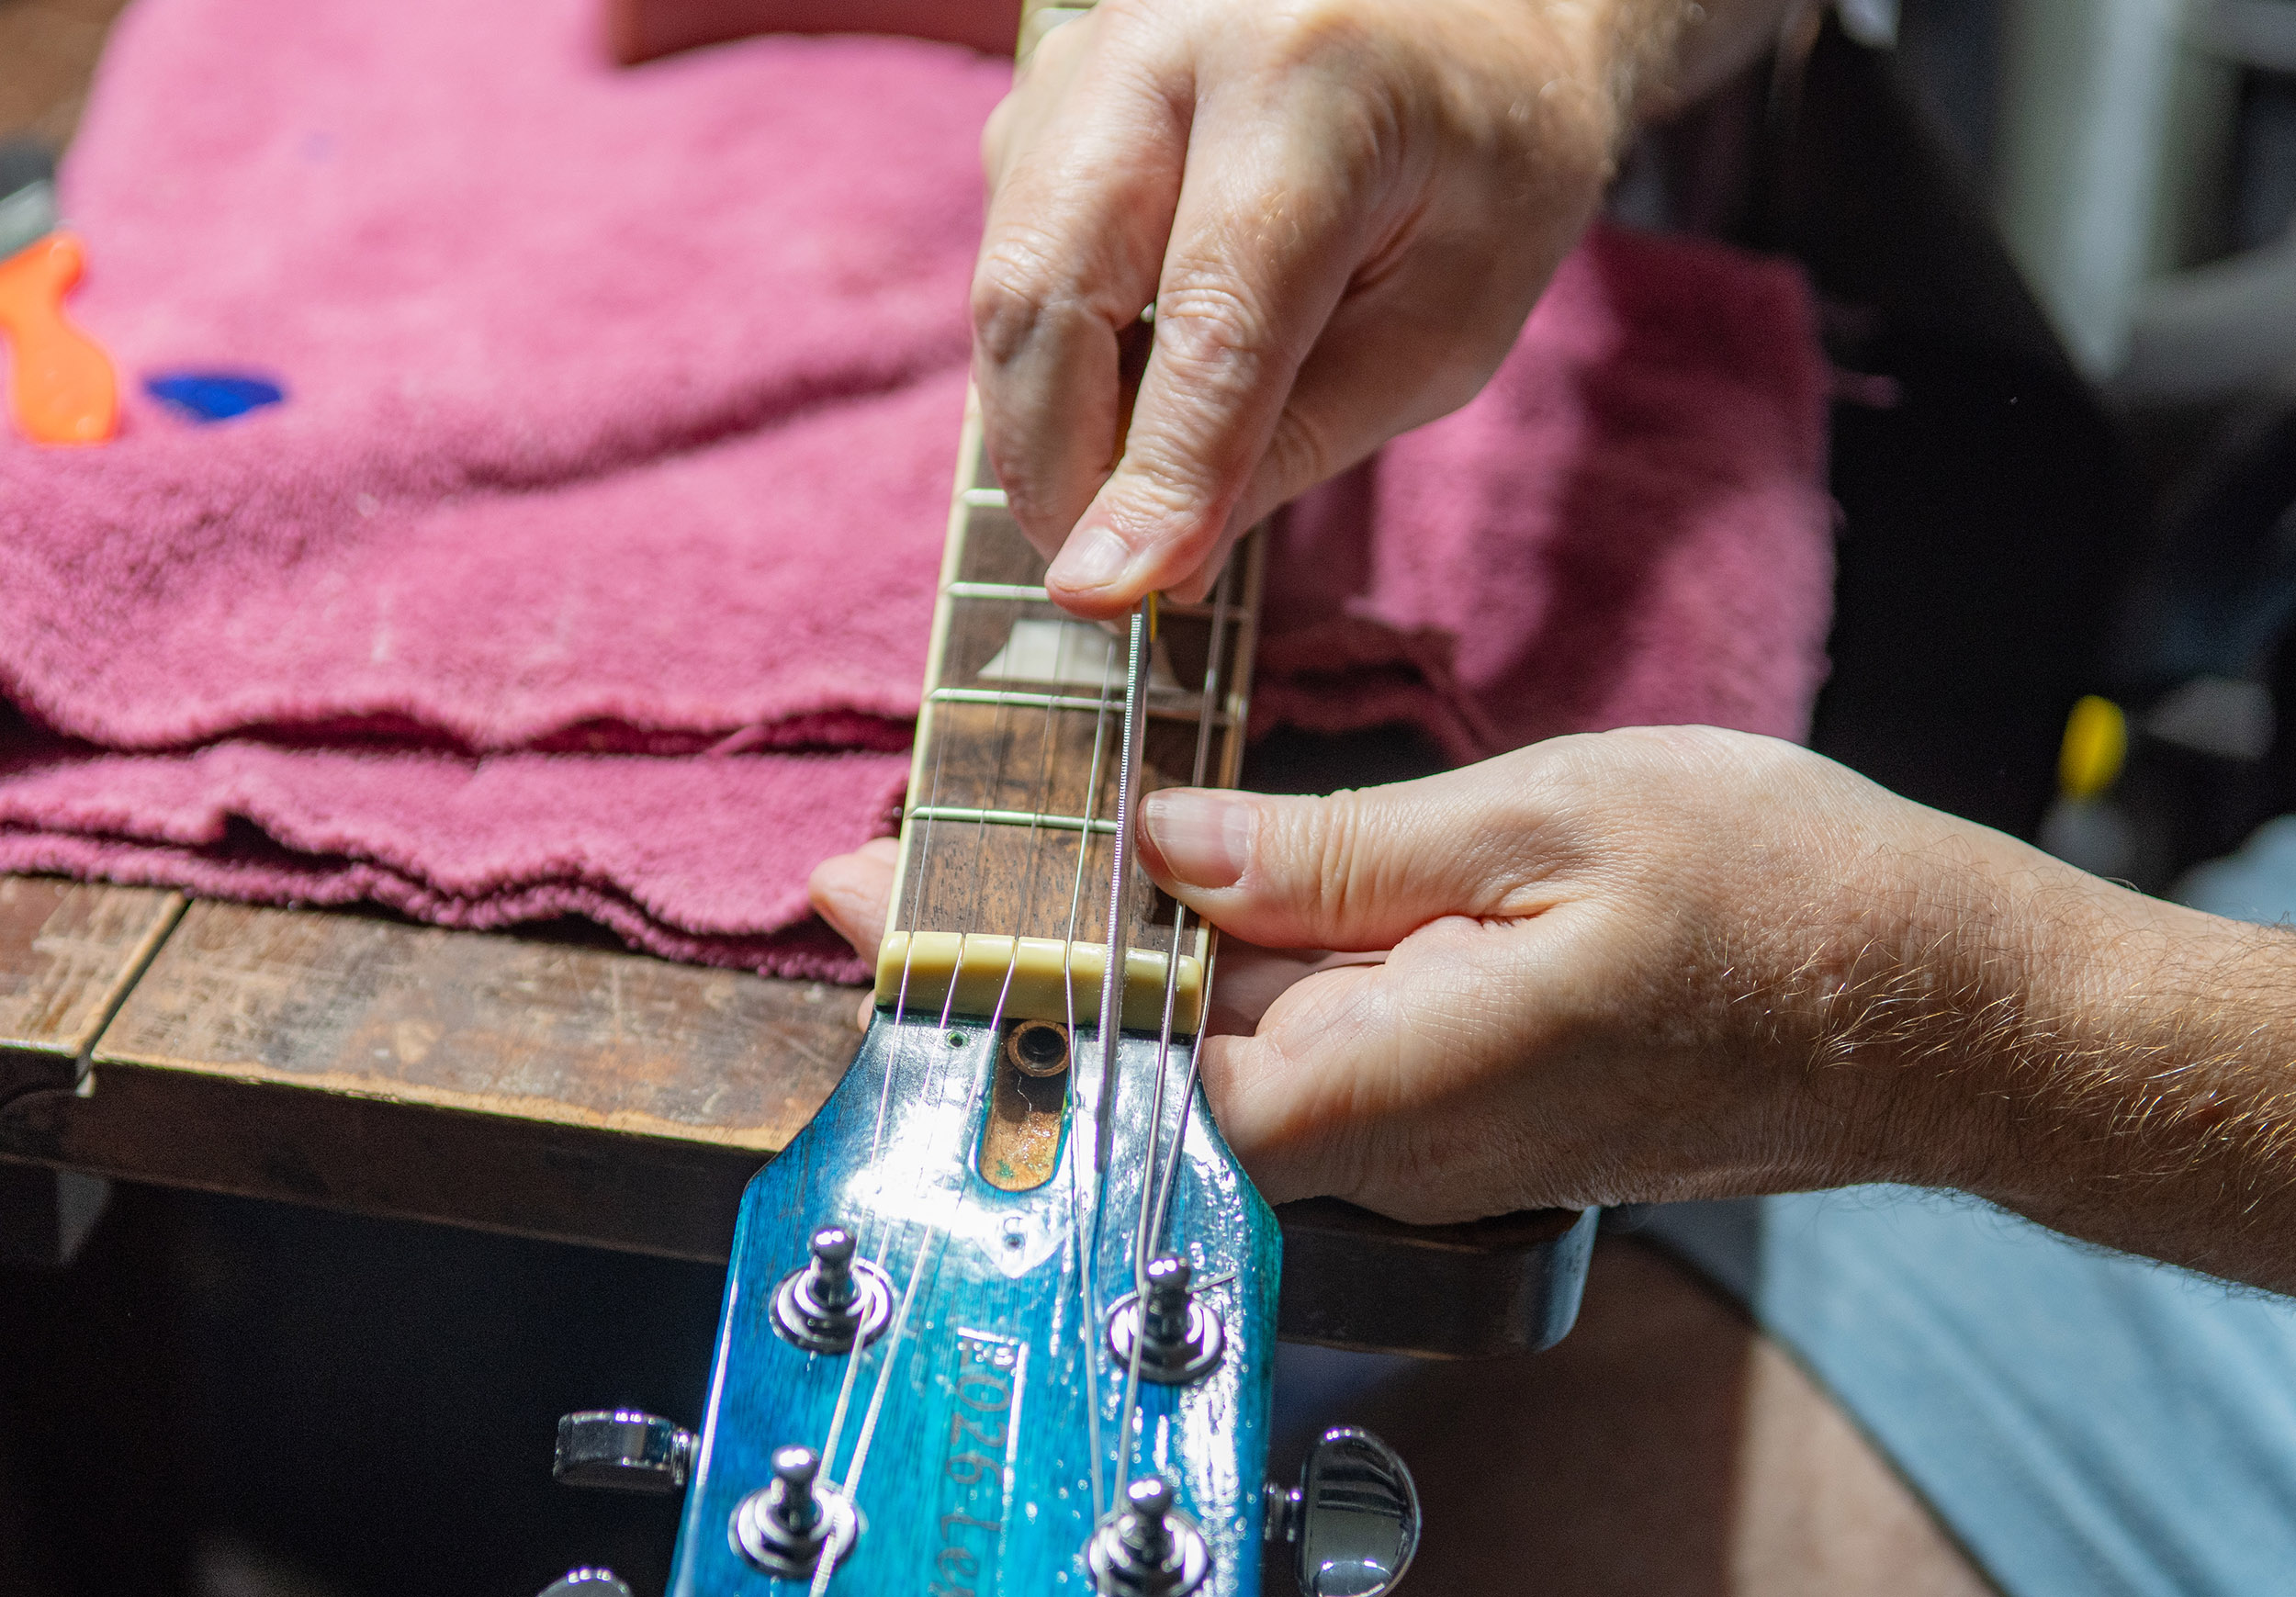
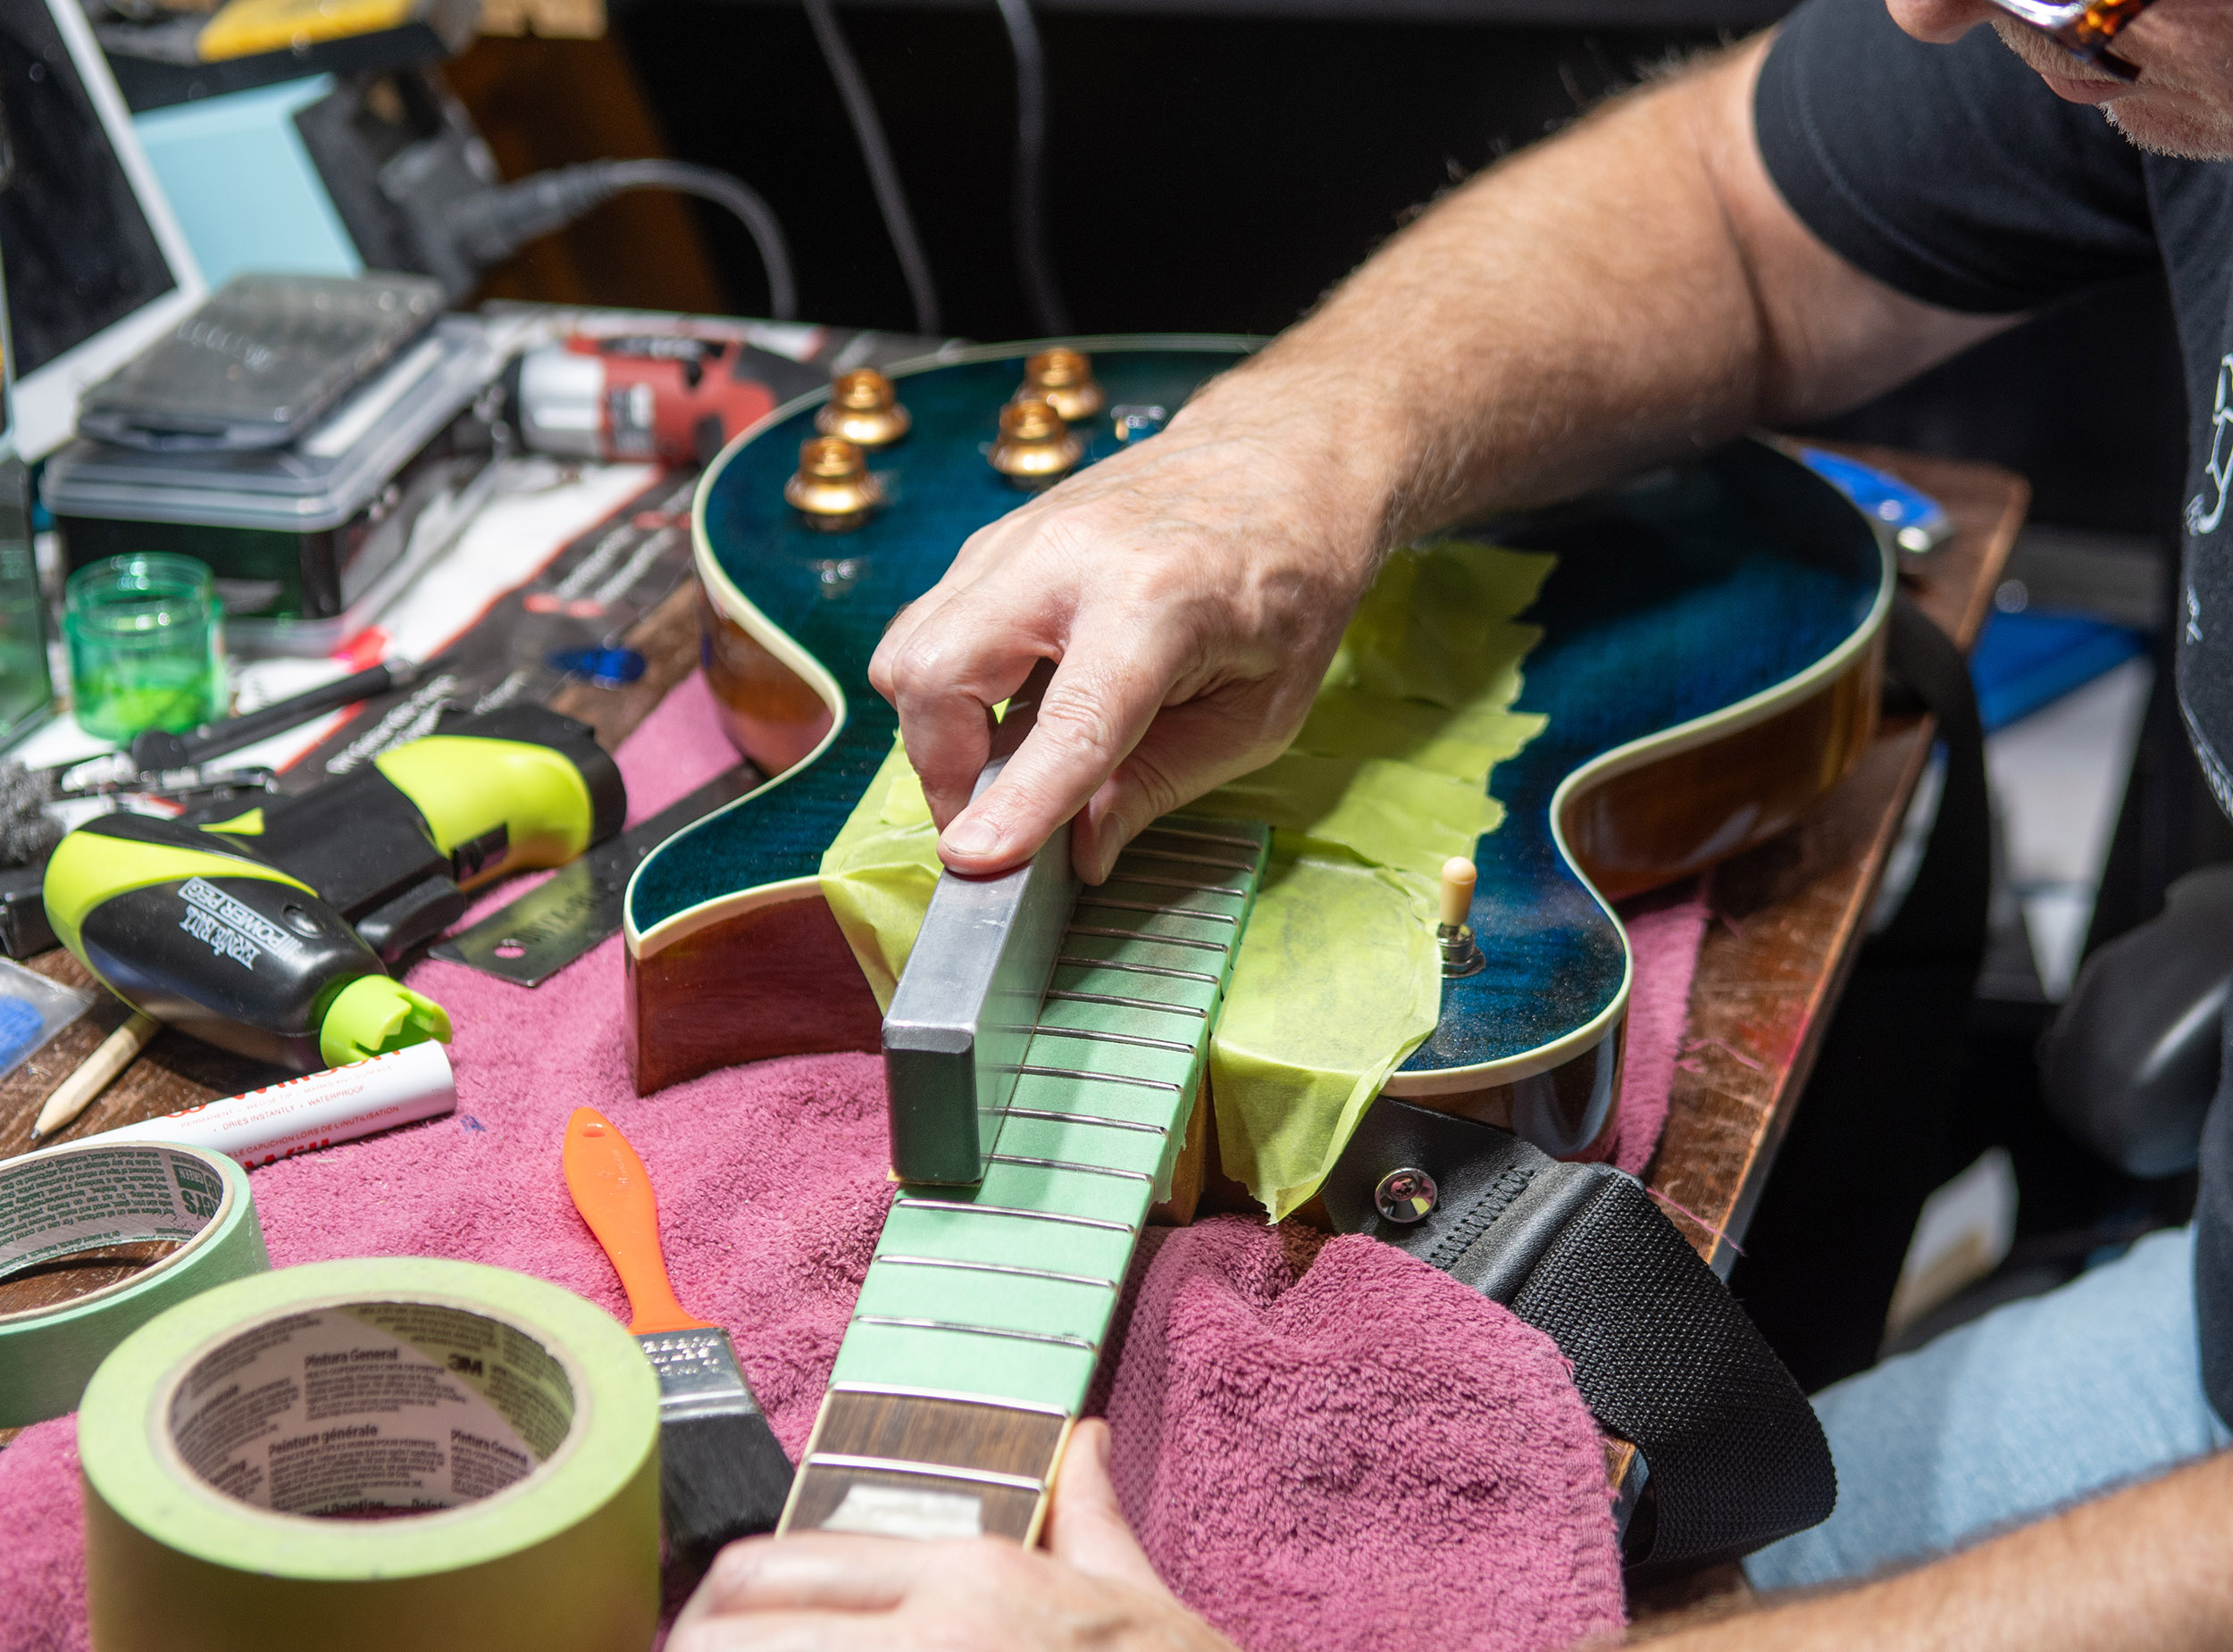
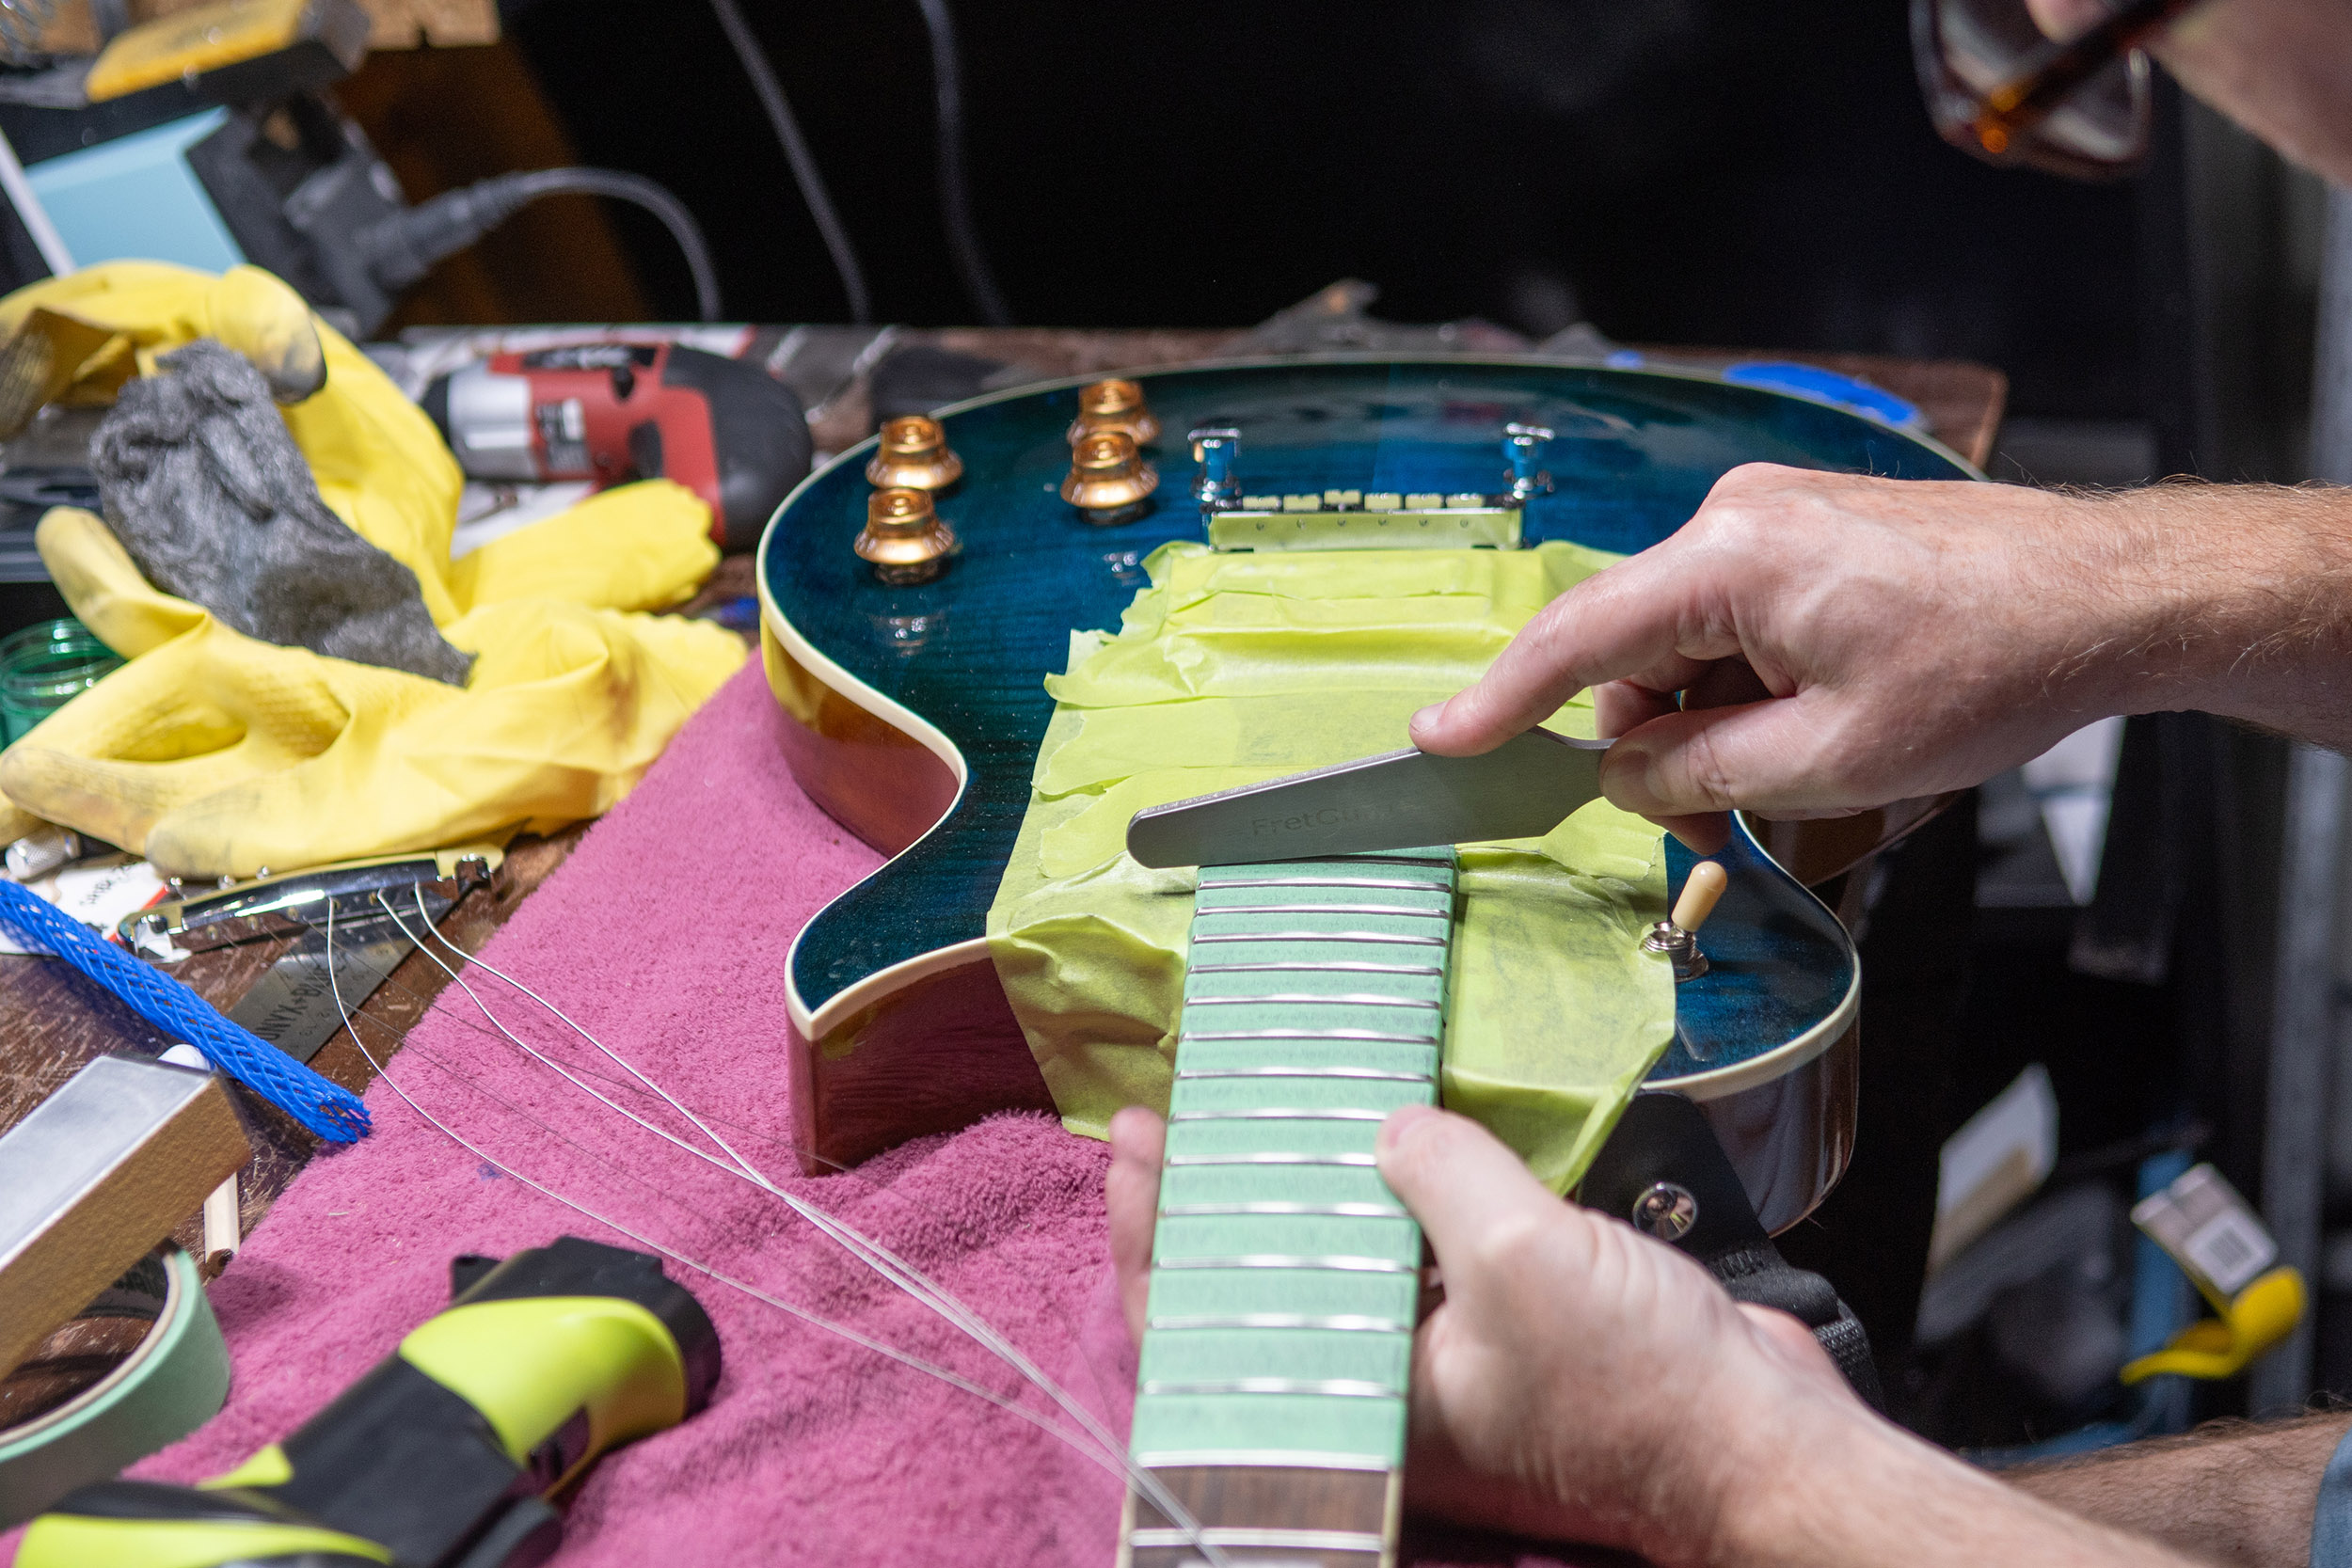
The end result looks pretty good to me! It’s definitely not as perfect as a professionally built guitar but those little imperfections that are only visible up close make it truly MY guitar. When you buy a really nice guitar off the shelf you’re getting something that a lot of other people also have. This one, and all of the kits I’ve built, are unique and one of a kind. No one else has one exactly like mine. It may not be as perfect but it has more character and history.
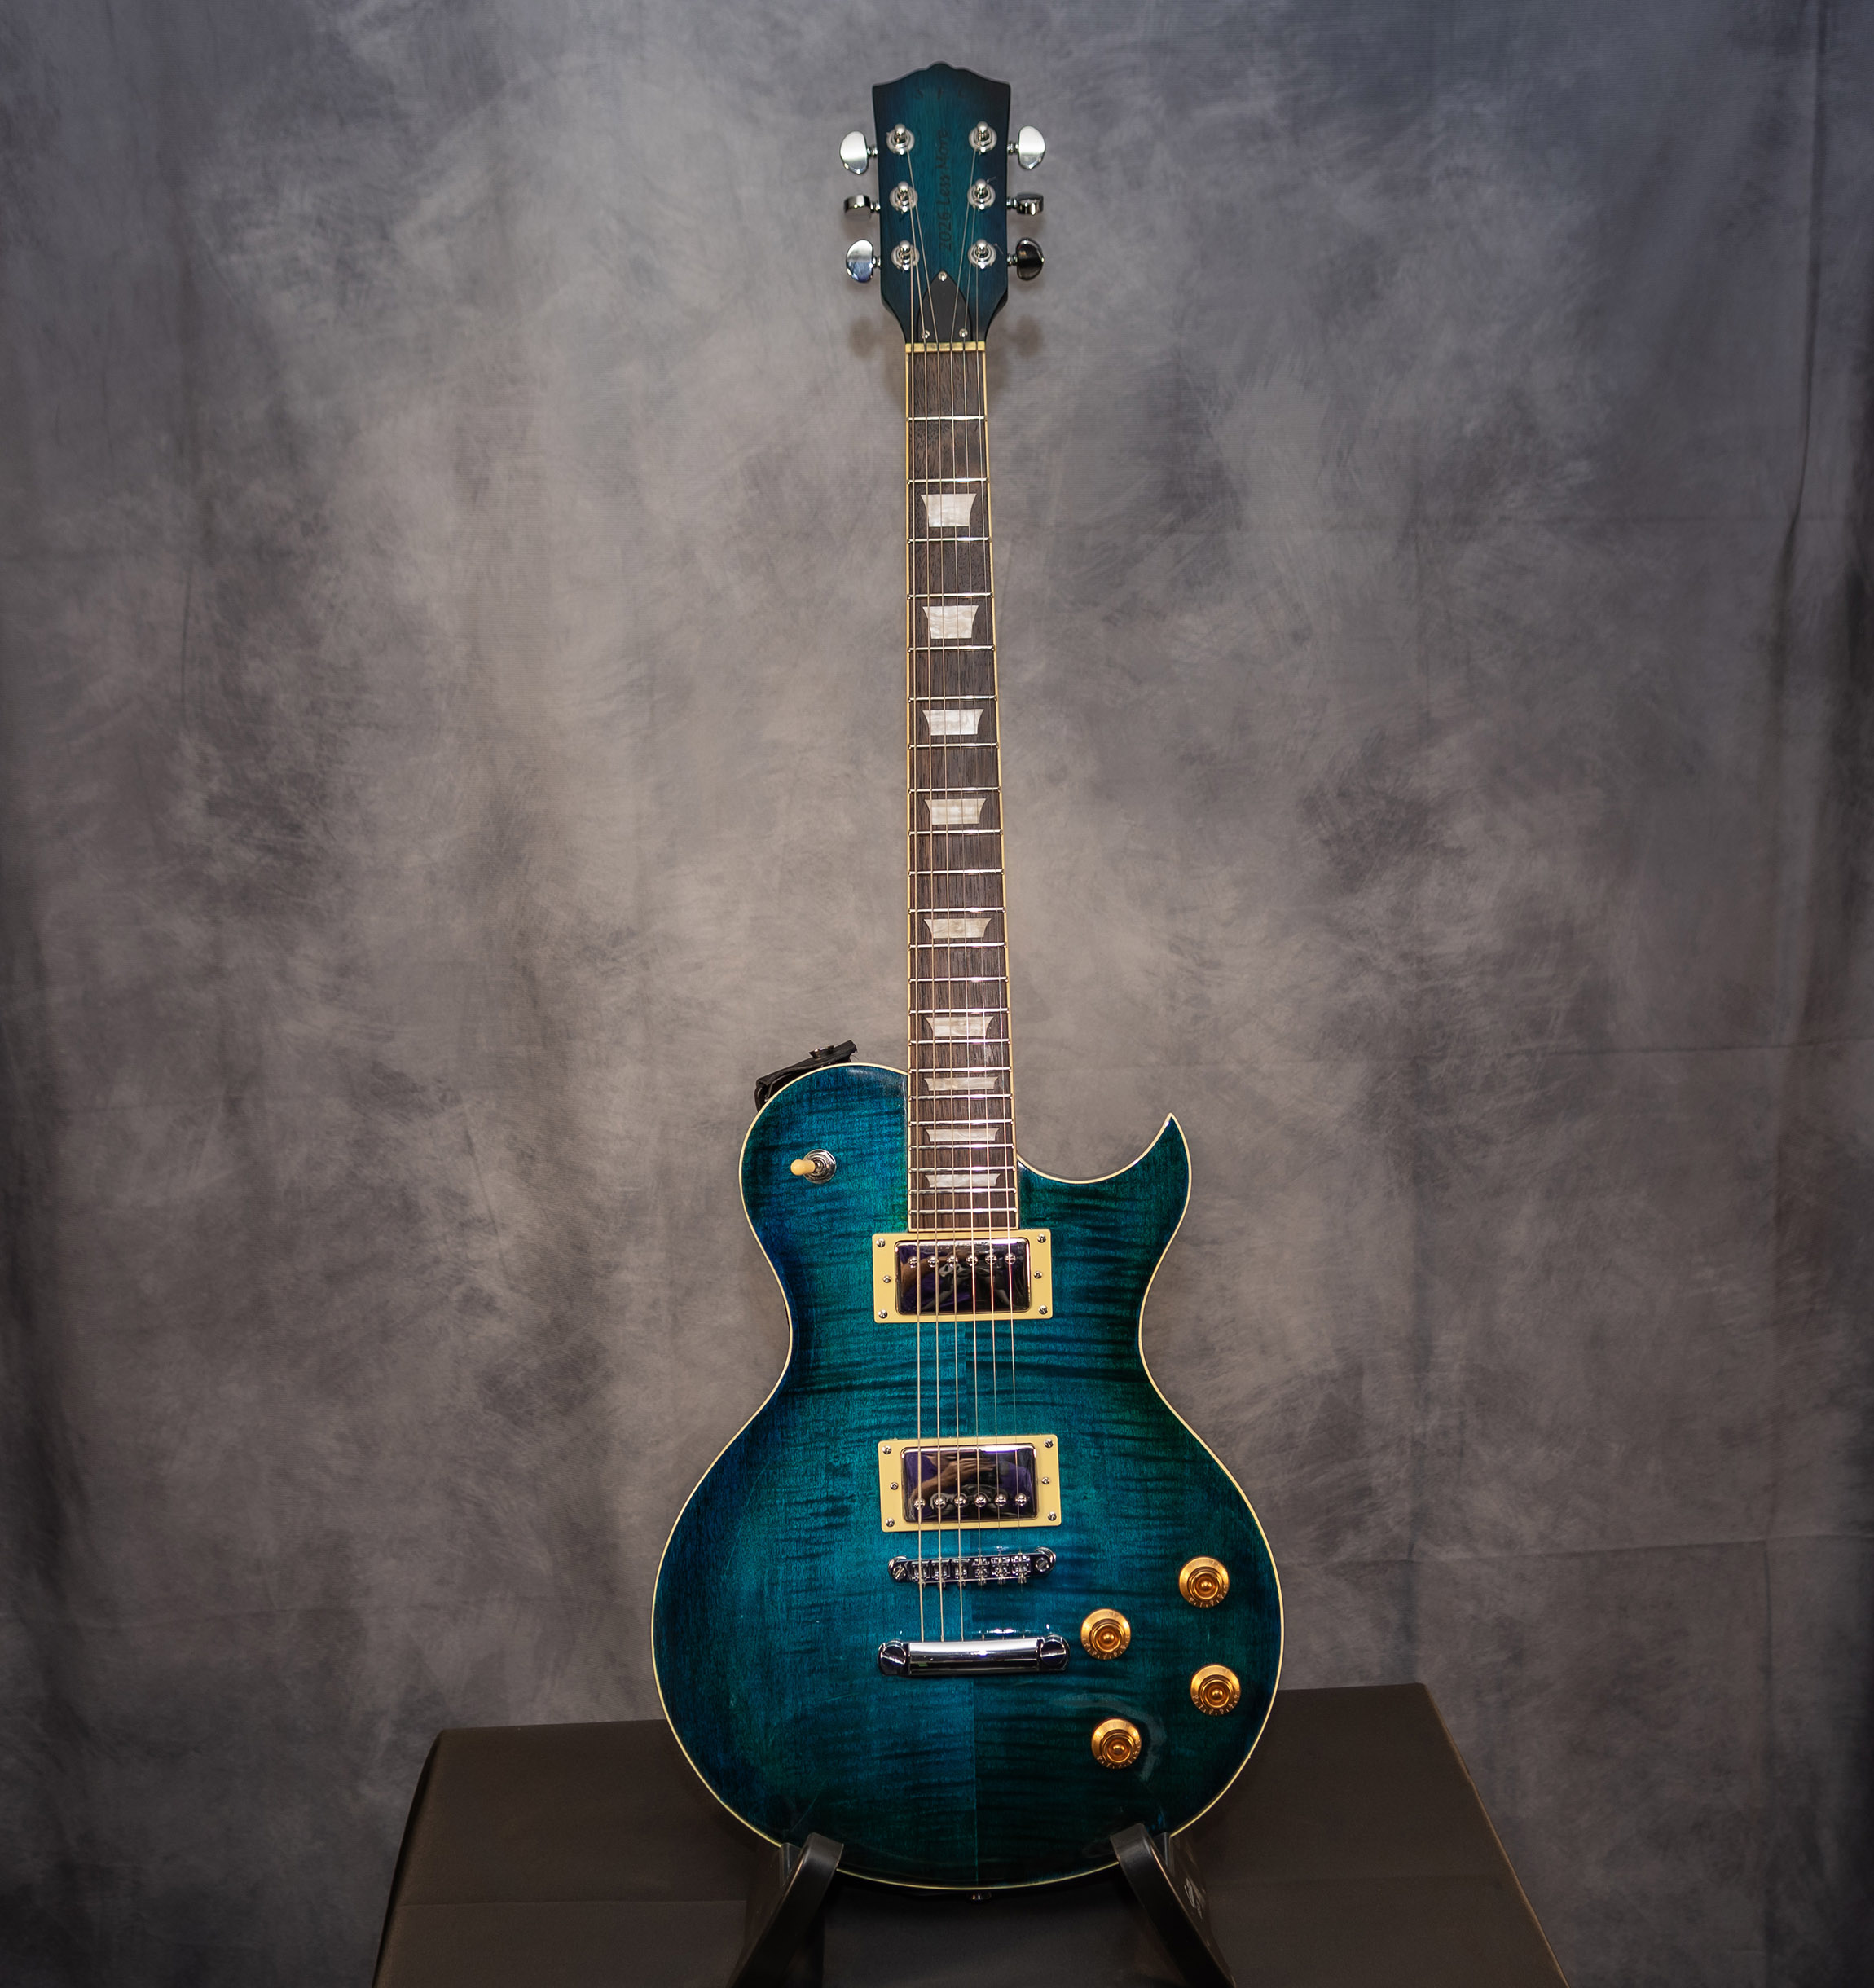
One more thing about how it looks: This is an amazing looking guitar but I cant seem to capture the actual look with any camera I have! Mostly the photos look more blue than turquoise. I had to manually adjust the white balance to get something a bit closer but this still isn’t exactly how it looks. Also the photos make it look more grainy than it looks in person. Very strange!
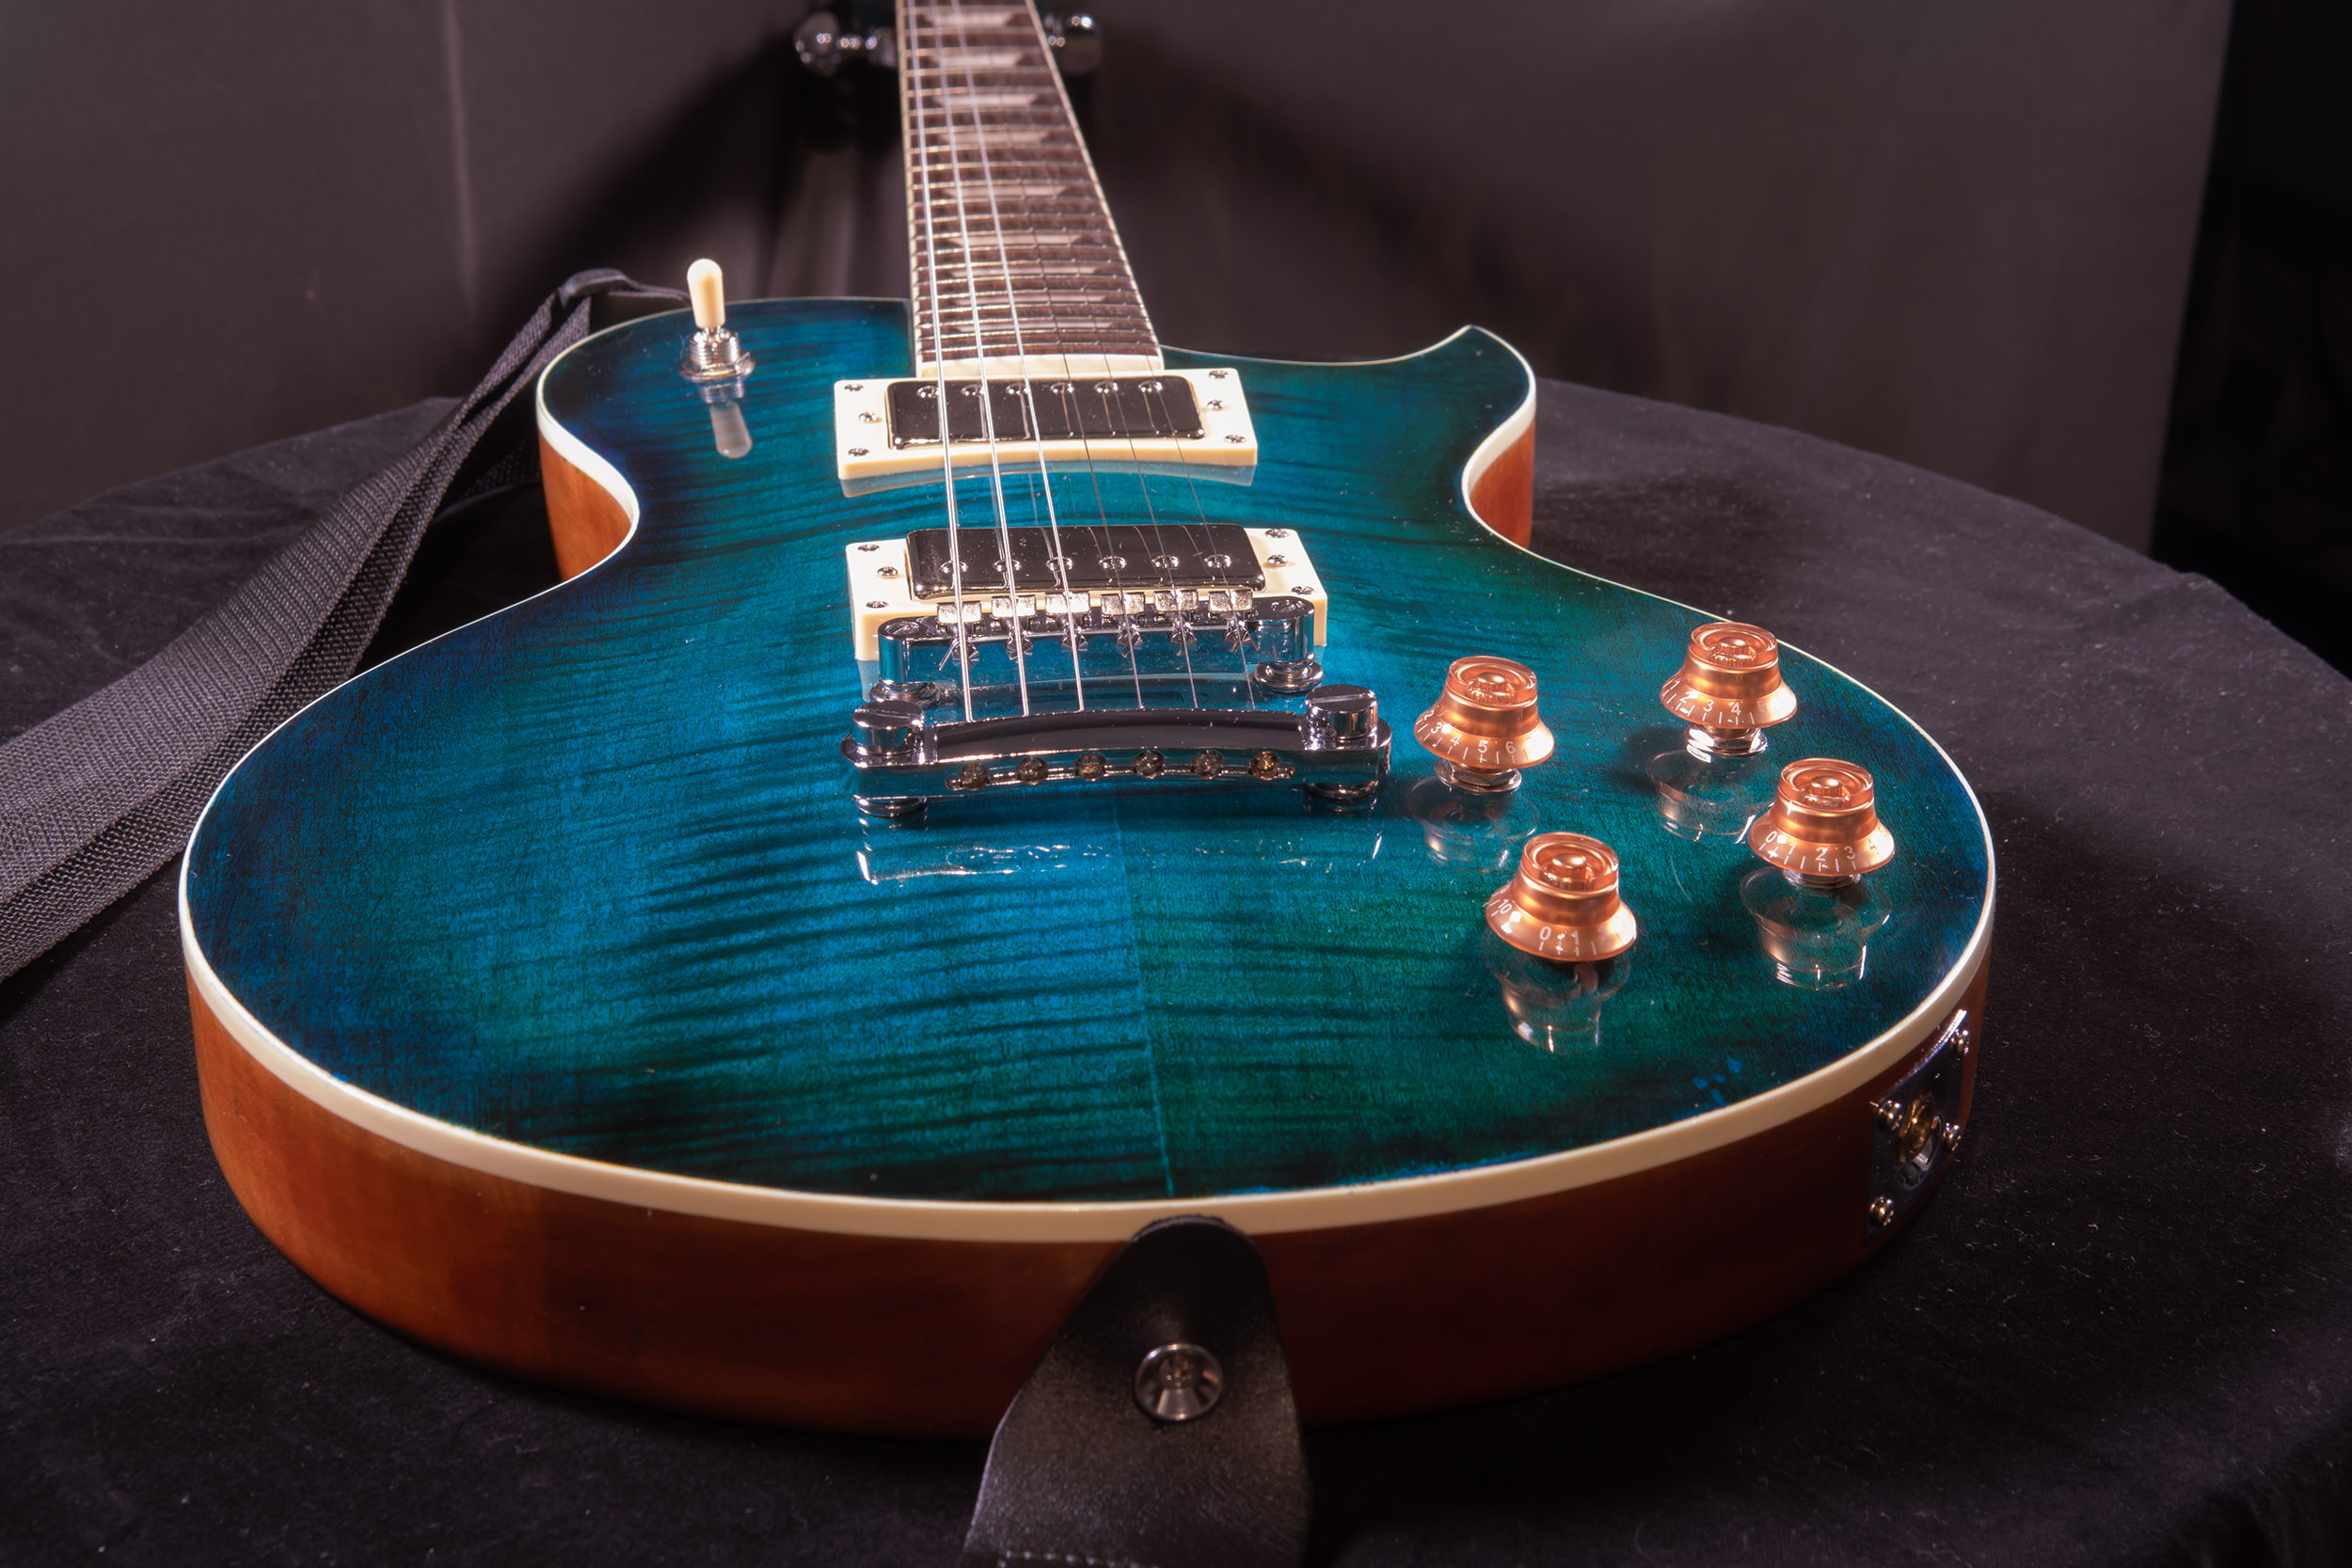
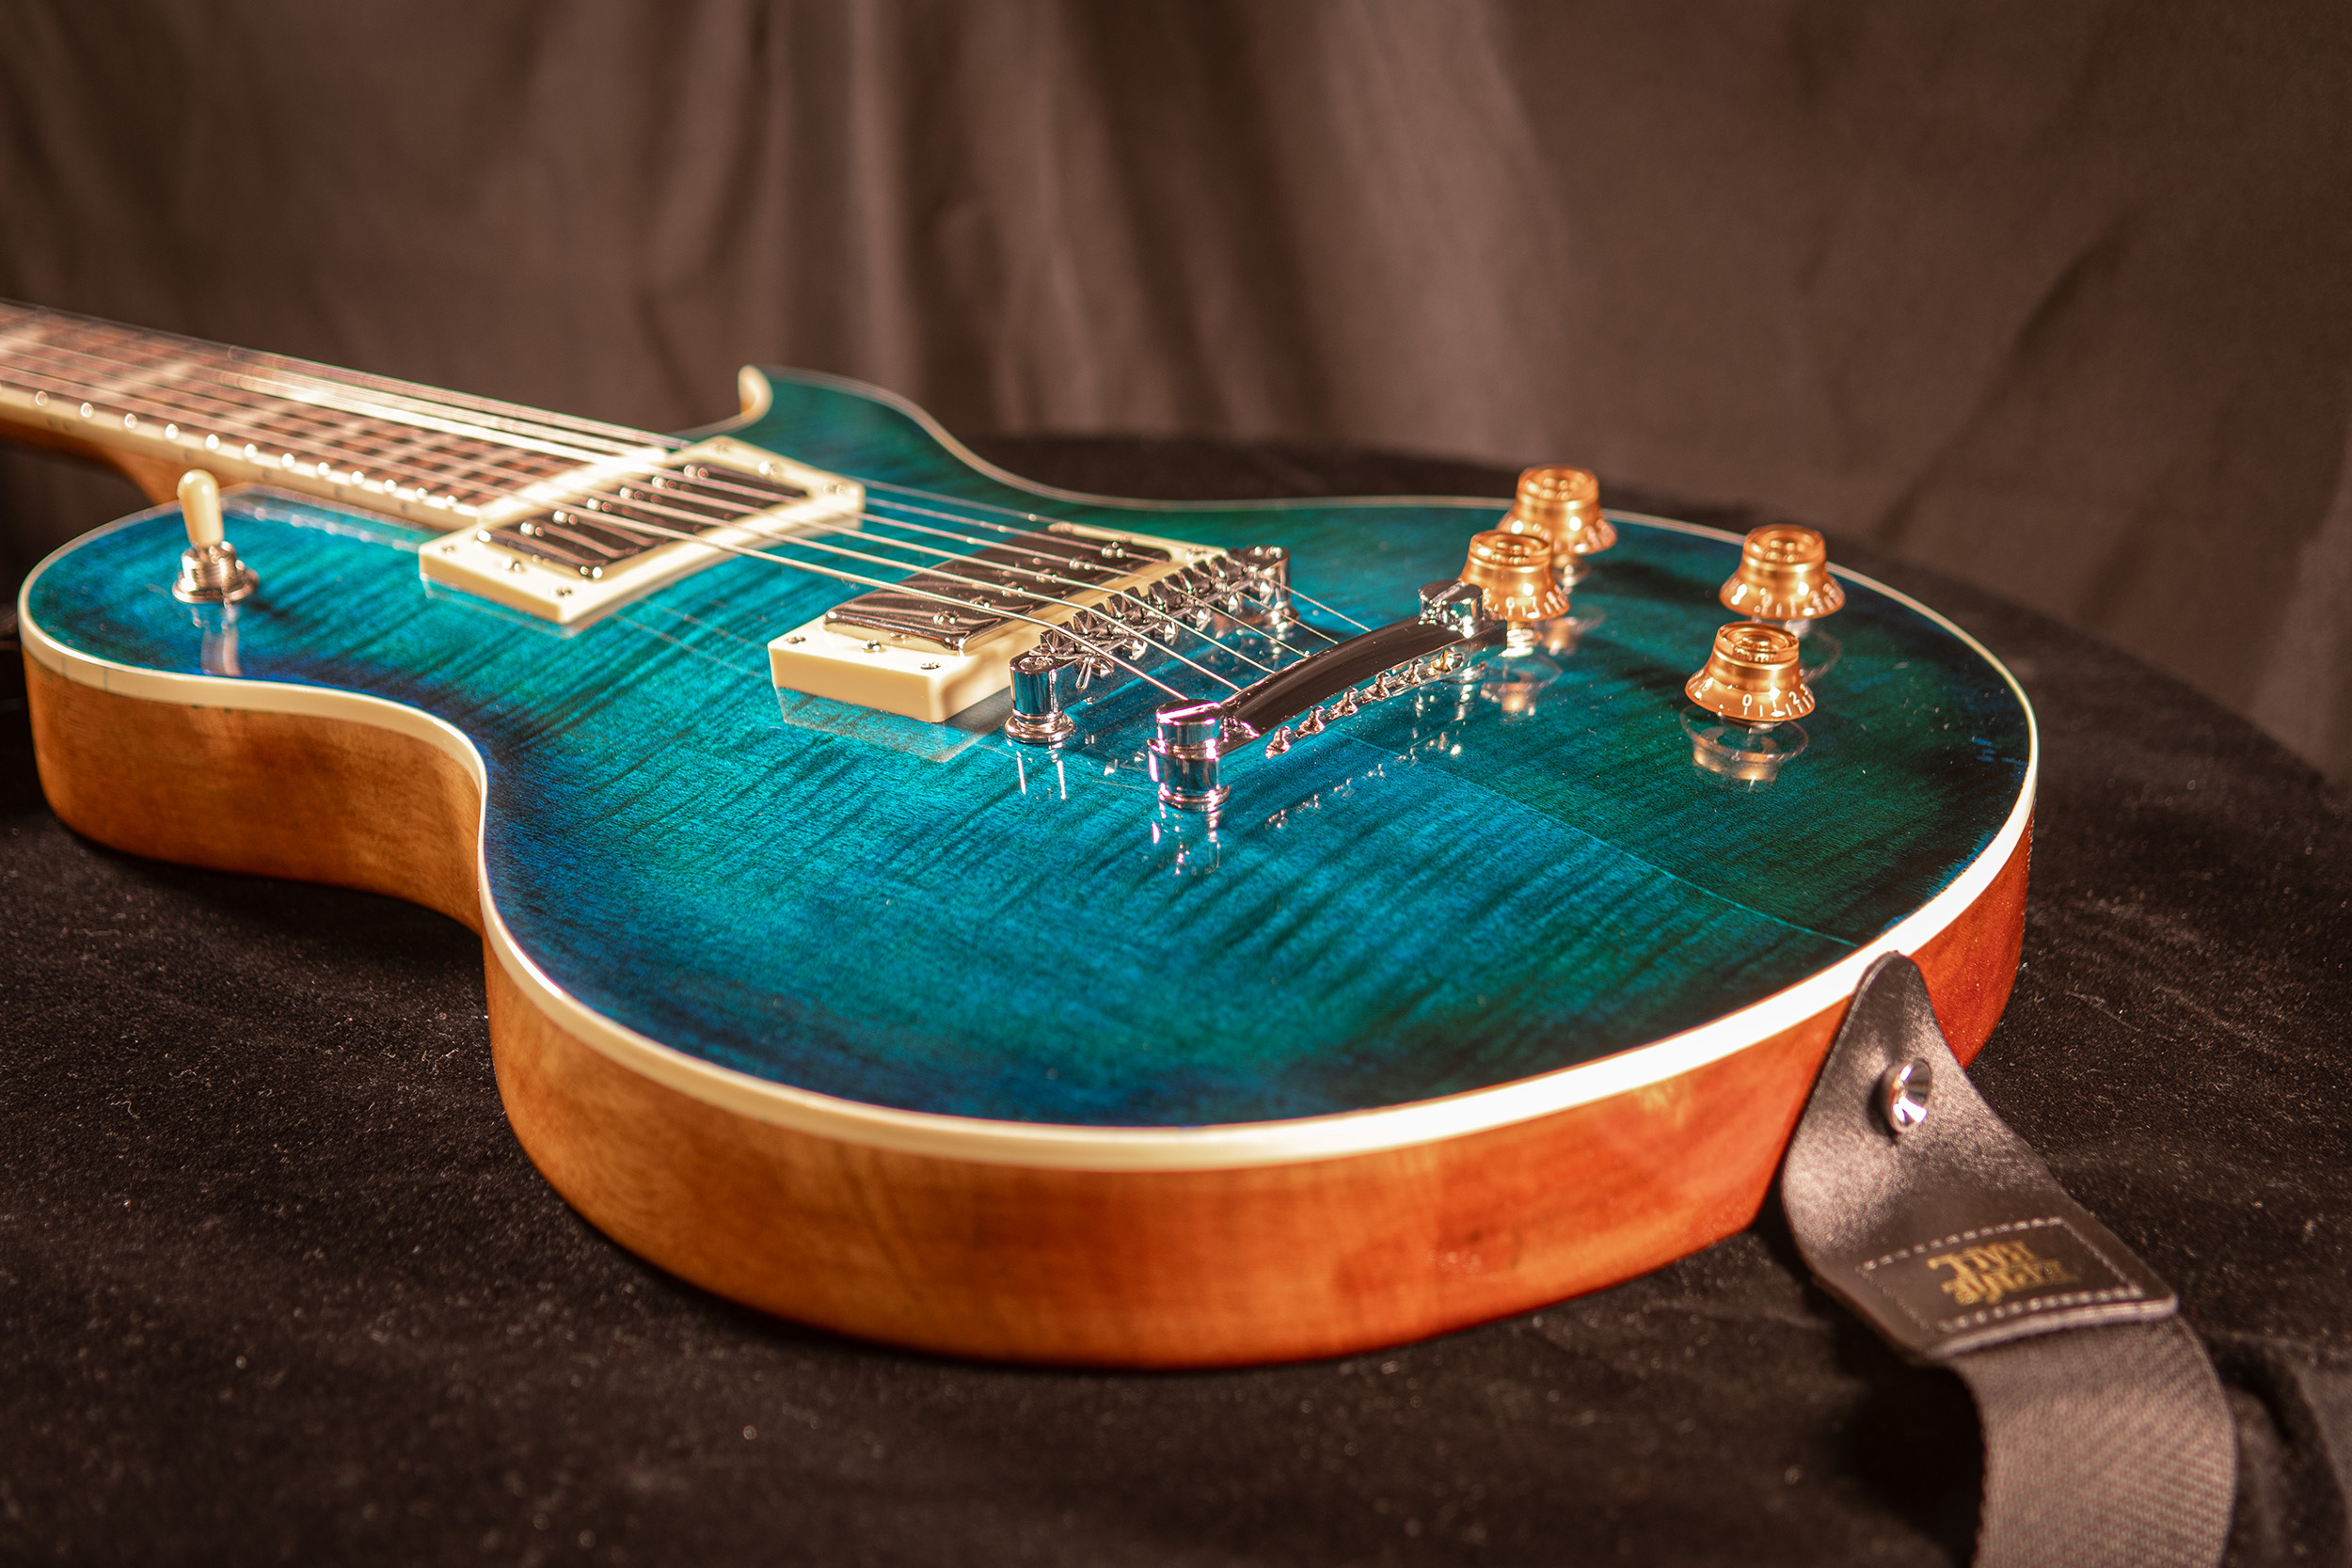
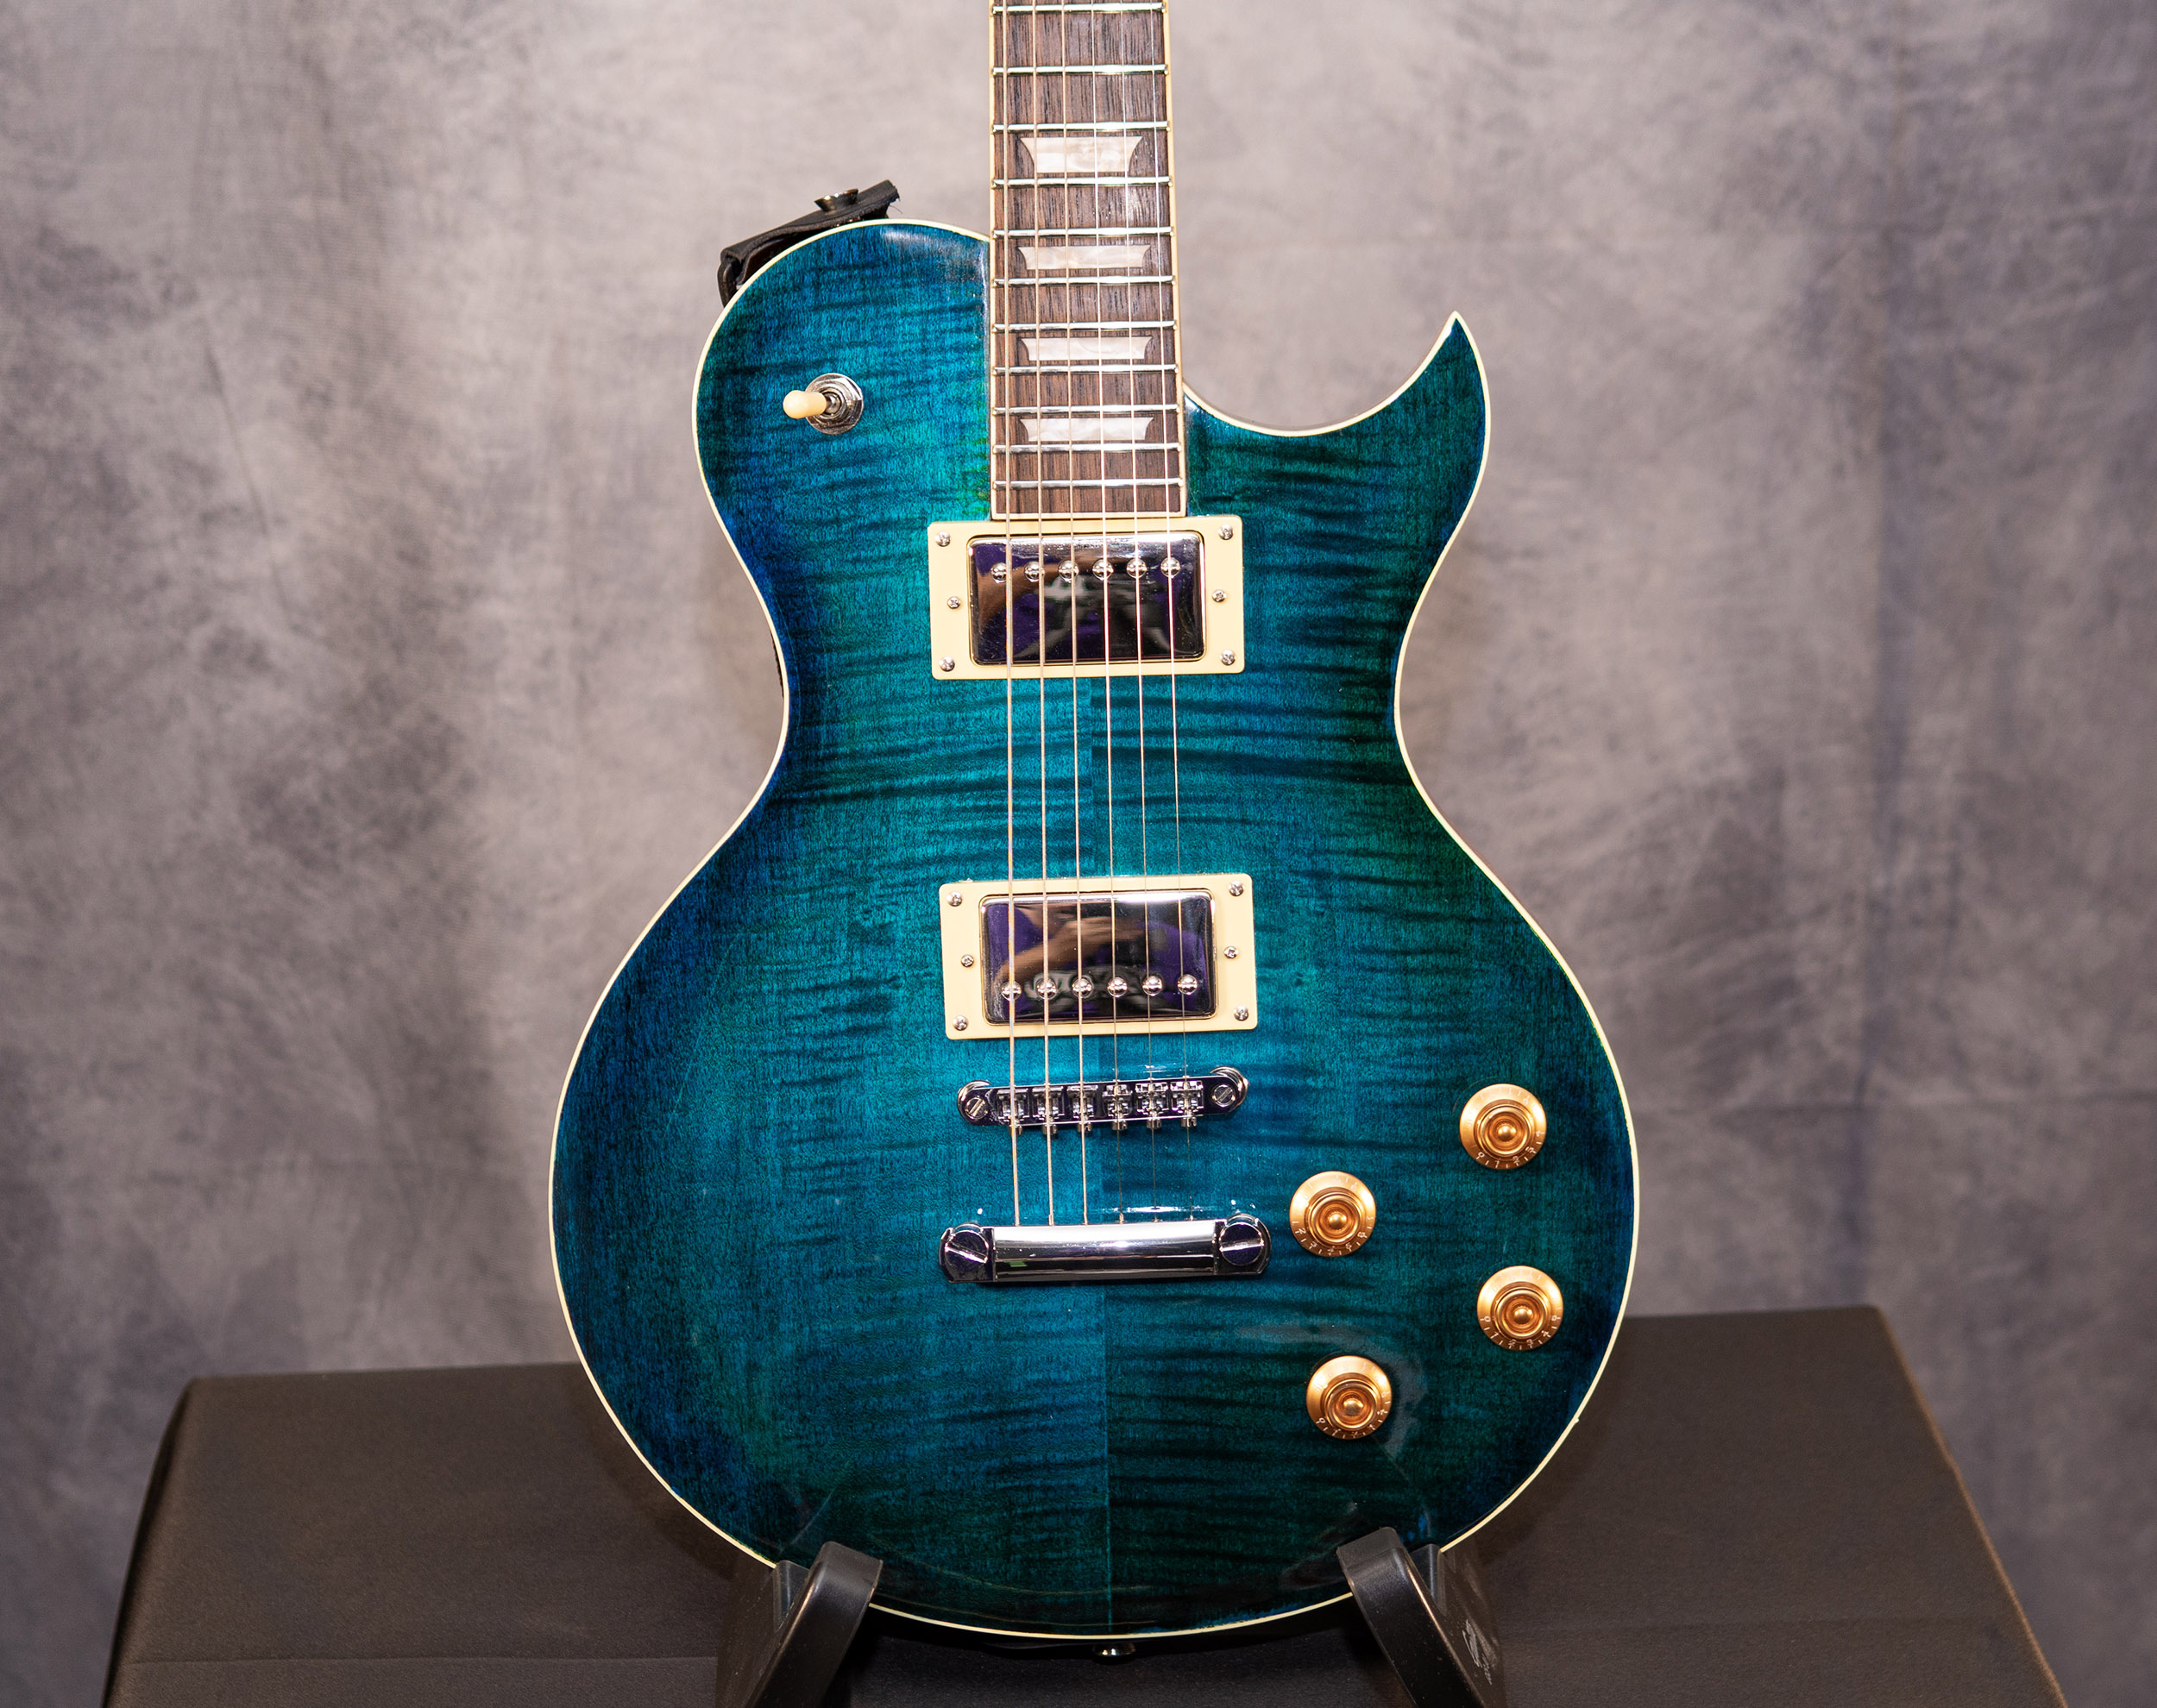
Personally I think it sounds and feels fantastic! It has a really cool slightly hollow sound with a mid range resonant peak that I love. And the out-of-phase sound is exactly that classic Peter Green / Jimmy Page sound that I wanted. I honestly love this guitar more than my Les Paul HP and it’s inspiring me to practice almost every day! Once again a kit from Solo Guitars has become one of my favorites and for less than a quarter the price of one of the big brand name guitars, even with all the hardware upgrades. I will definitely build more even though I’m running out of room here! Thanks again, Solo!!!